Seven Broken Needles and Five Lessons in Tunnel Building
Lesson 1: Consult A Pattern Before Beginning, even if it seems Simple
We were certain sewing a tunnel would be easy. So easy that we didn’t feel the need to consult patterns or think much about it. It’s just a band of fabric. How hard could it be?
We thought it would look great if the fabric was colorblocked with a 45 degree angle spanning the length of the tunnel. And then why not put some bright fleece on the interior with the same bright binding on the edges? Maybe throw some cable ties in the ends to give it structure. Great, that was enough planning. And to be fair, creating a square of 45 degree blocked fleece was indeed simple. If only everything else could have gone that smoothly… but more on that in the following lessons.
Lesson 2: Don’t Sew Dacron Polyester Exposed - sandwich it between layers
We thought putting a layer of dacron polyester batting inside of the tunnel would give it some cushion. We already had some around for another planned project we haven’t started yet, so we grabbed a bit of the excess. The plan was to sew it directly to one side of the fleece first.
We’ve never worked with dacron polyester before, but it was exactly zero fun to sew. It kept getting hung up on the sewing machine foot… it’s like trying to sew cobwebs and became really hard to manage. Constantly needing to lift the foot to extract the fibers. Next time we attempt this, we’ll do everything in our power to be sure the dacron is sandwiched between two layers of fabric so that it can’t cause problems like this.
Lesson 3: Follow your sewing machine service schedule
While it may be unrelated, needles started breaking every couple of minutes. Seven brand new needles met an untimely end during this project. Seven! At some point, the top thread started breaking too - which is odd, because we only use excellent quality Mettler thread and have never had it break before. And then the sewing machine threader broke, which is, for the record, absolutely infuriating. So we dug out our needlenose pliers to manually thread the needle.
It probably isn’t fair to blame the dacron for all these woes, but we’re blaming it anyway. It could also possibly be that we should have had our machine serviced many months ago and neglected to do so. We think our machine took one look at the dacron and decided to stage a protest.
Lesson 4: Use the right Scissors for the job
And then the final straw. In our haste to get this thing finished, we were using a large pair of Gingher scissors to snip the constantly breaking thread instead of the small thread snips. And of course a finger ended up being cut. Use the thread snips - just do it. Big sharp scissors are indiscriminate; thread snips exist for a reason.
Lesson 5: Plan the supporting structures
Finger bandaged, and undeterred, we pressed on. After getting the dacron attached, we attached the interior lining, and managed to get a cable tie placed in the end of the seam and sewn in. Except it was tricky, especially while having to rethread every two minutes and change needles. So the seams didn’t land where we wanted. Next time, we’ll make a plan for exactly how to hold those cable ties in place, and also accurately cut them to size so there isn’t a large doubled up section.
So, when all was said and done, we ended up with this.
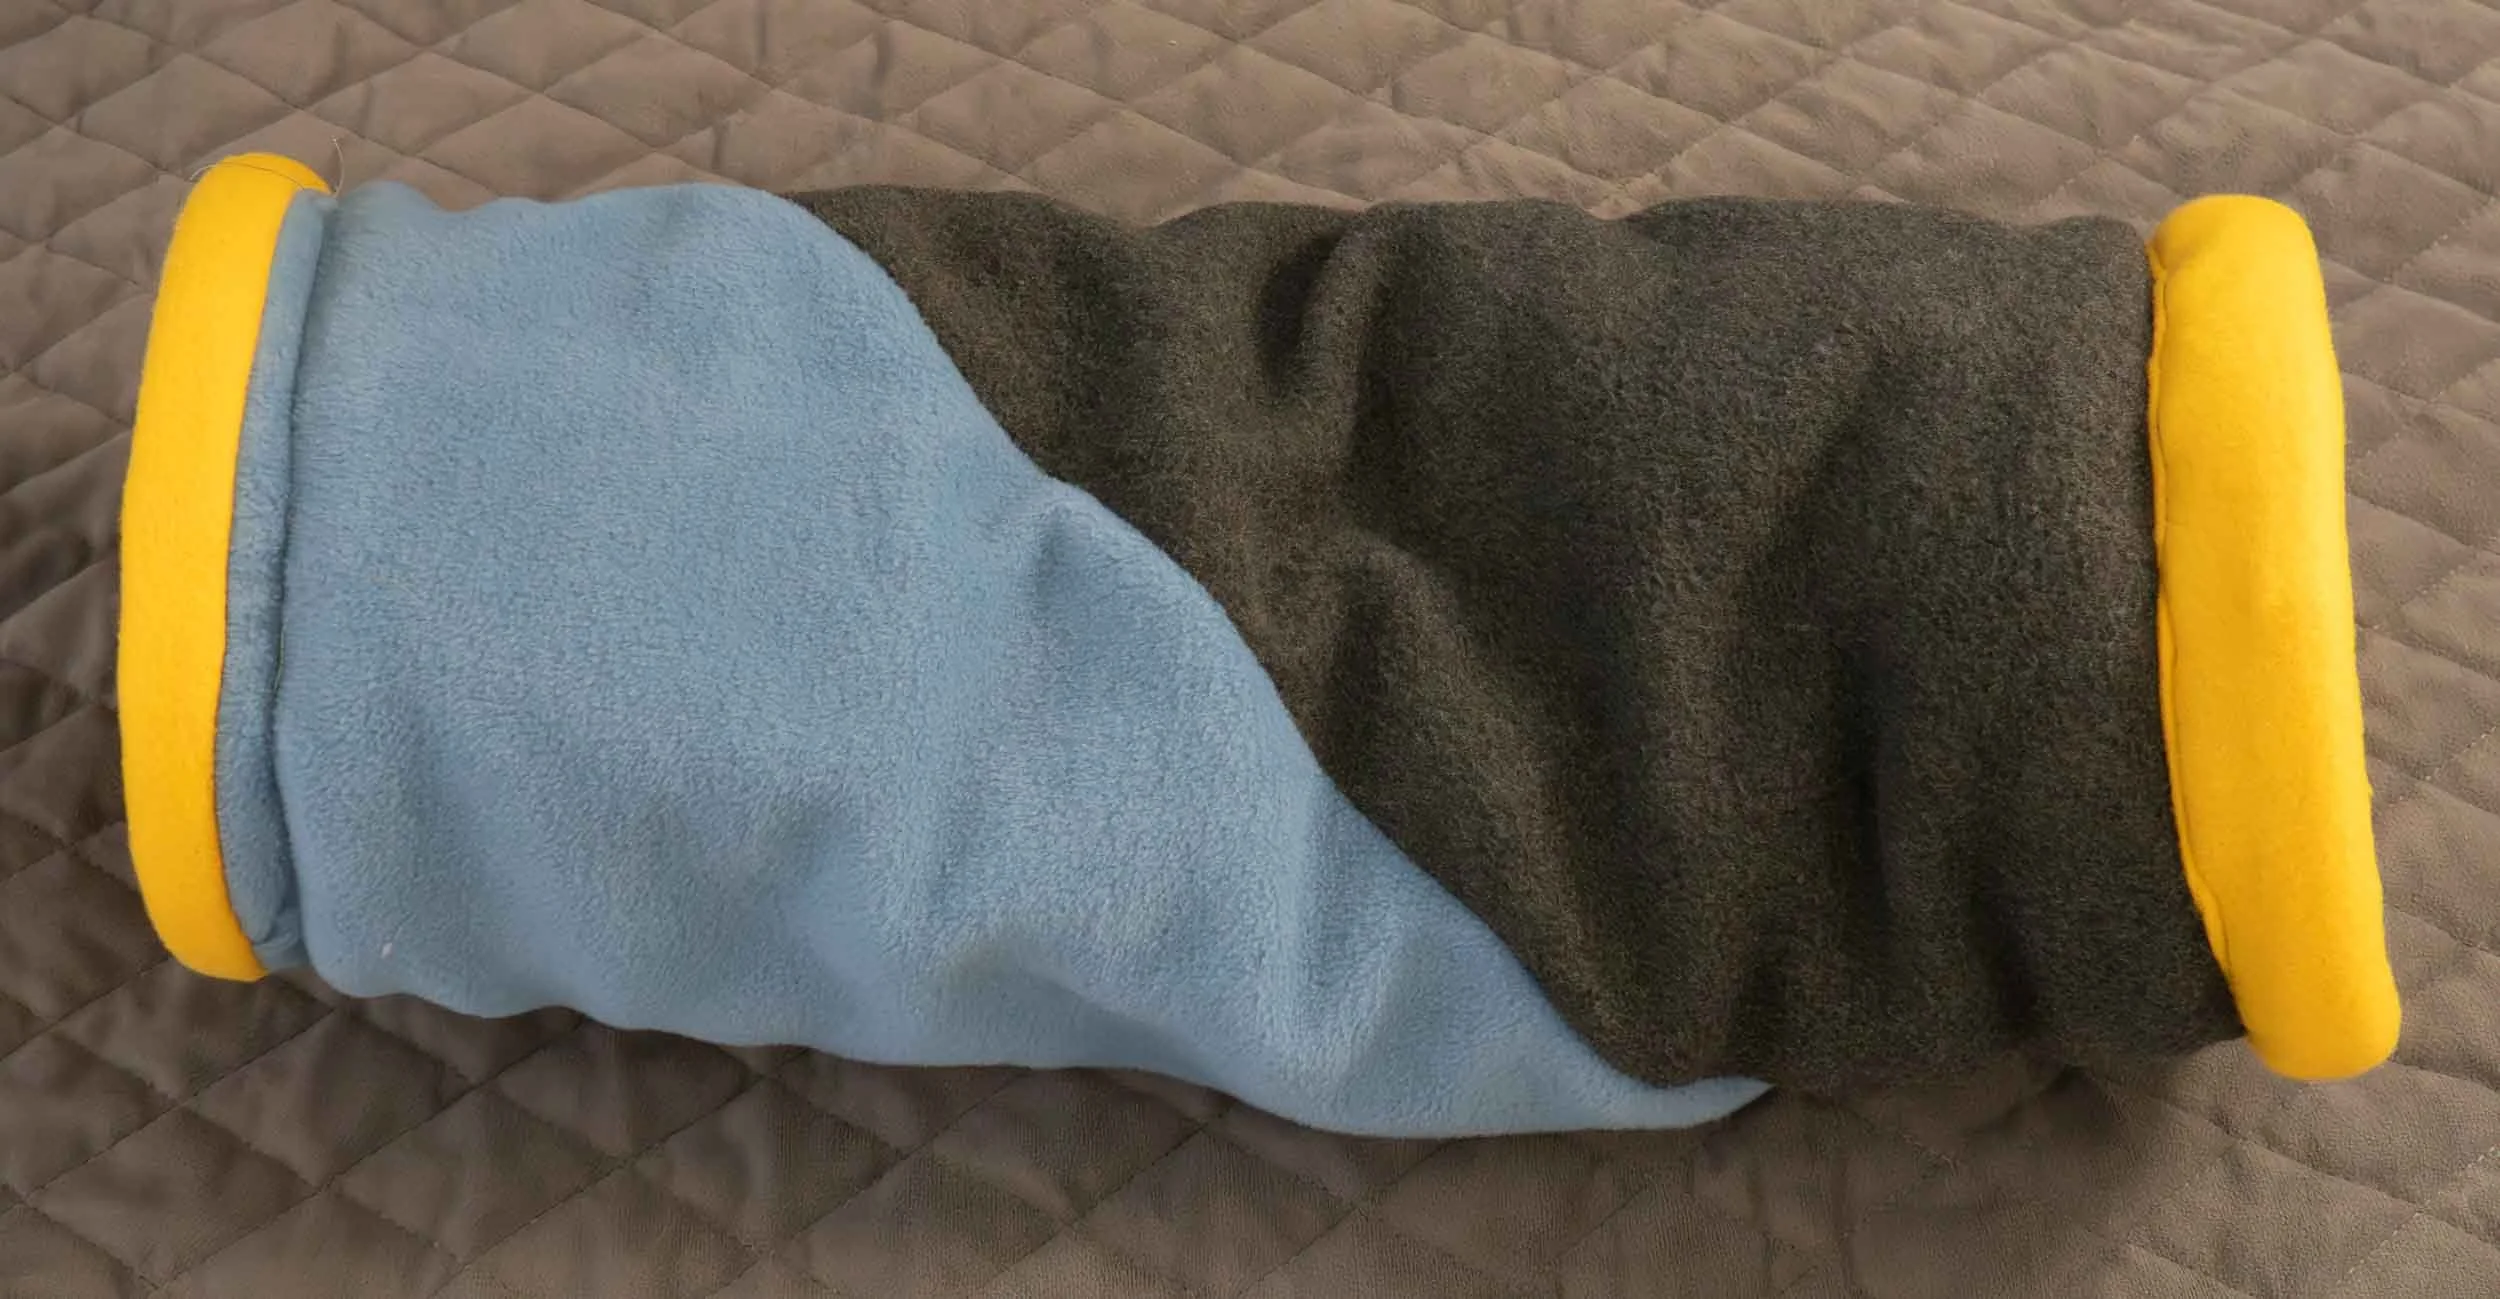
Yeah. We cringed, the tunnel cringed, everyone cringed.
Now, the Bernina sewing machine is in the shop, getting repairs and a much needed servicing. We are busy planning our second attempt.
Meanwhile, we technically have a tunnel. And while Tangent gives it stink-eye, he’s not above snuggling into it.