
Pee Pad Perfection, Layer by Layer
After we got the whole fleece problem sorted (detailed in this blog entry), it was time to move on to what components actually make the best mat. Our requirements: it must be waterproof, super absorbent, easy to spot clean, and easy to look at.
We had already determined that the first layer, the one closest to the piggies’ feet, would be made of Dri-Qwick fleece we sourced from Wazoodle. Granted, it’s not in colors we absolutely love, but there were a couple of non-obnoxious choices in the charcoal and stone grey. It’s also offered in a silver version, which when woven through fabric is an antimicrobial agent that can help to limit odors.
As for the second layer, we knew we wanted the fleece to be quilted to something. We learned this the hard way from the very first liners we purchased. They were fleece sewn only on the outer edge to uhaul blankets, and we found that the large unattached sections of fleece were a headache to keep clean. The fabric would bunch up when we tried to sweep it, get sucked into the vacuum, and was generally super hard to keep tidy. So quilting the fleece tightly to the middle layer became non-negotiable. The winner, once again, was Wazoodle, in the form of a layer of their Zorb Original fabric. Zorb is a fabric they created that’s super absorbent, way more absorbent than uhaul blankets. So the plan was to quilt the fleece directly to the Zorb in a 2” grid. Fortunately this also comes in a silver version, so that’s another win.
That leaves the bottom waterproof layer. We decided to also source this layer from Wazoodle. Initially we thought about using a lightweight PUL fabric which is basically a thin, soft, and waterproof piece of fabric. But we wanted these pads to be super absorbent, and we weren’t sure if a single layer of Zorb original would be able to hold up to 24 hours of guinea pigs doing their worst to it. We then discovered their Zorb 4d fabric which contains an absorbent layer bound to a waterproof layer. That sounded really good, especially since it would offer extra absorbency, so we ordered a swatch kit of all of the 4d fabrics. We loved the feel of the cotton Zorb 4d, and ordered enough for test mats… but that turned out to be a bit of a mistake, because it really does get kind of damp on the bottom, and the cotton takes forever to dry after you wash it. So we ultimately ordered some Zorb 4d Heavy Duty which is made only of polyester, and that functioned perfectly and dries way faster than the cotton blend style. The Heavy Duty does not come in a silver version, but we figured there would be enough of that in the first two layers to suffice.
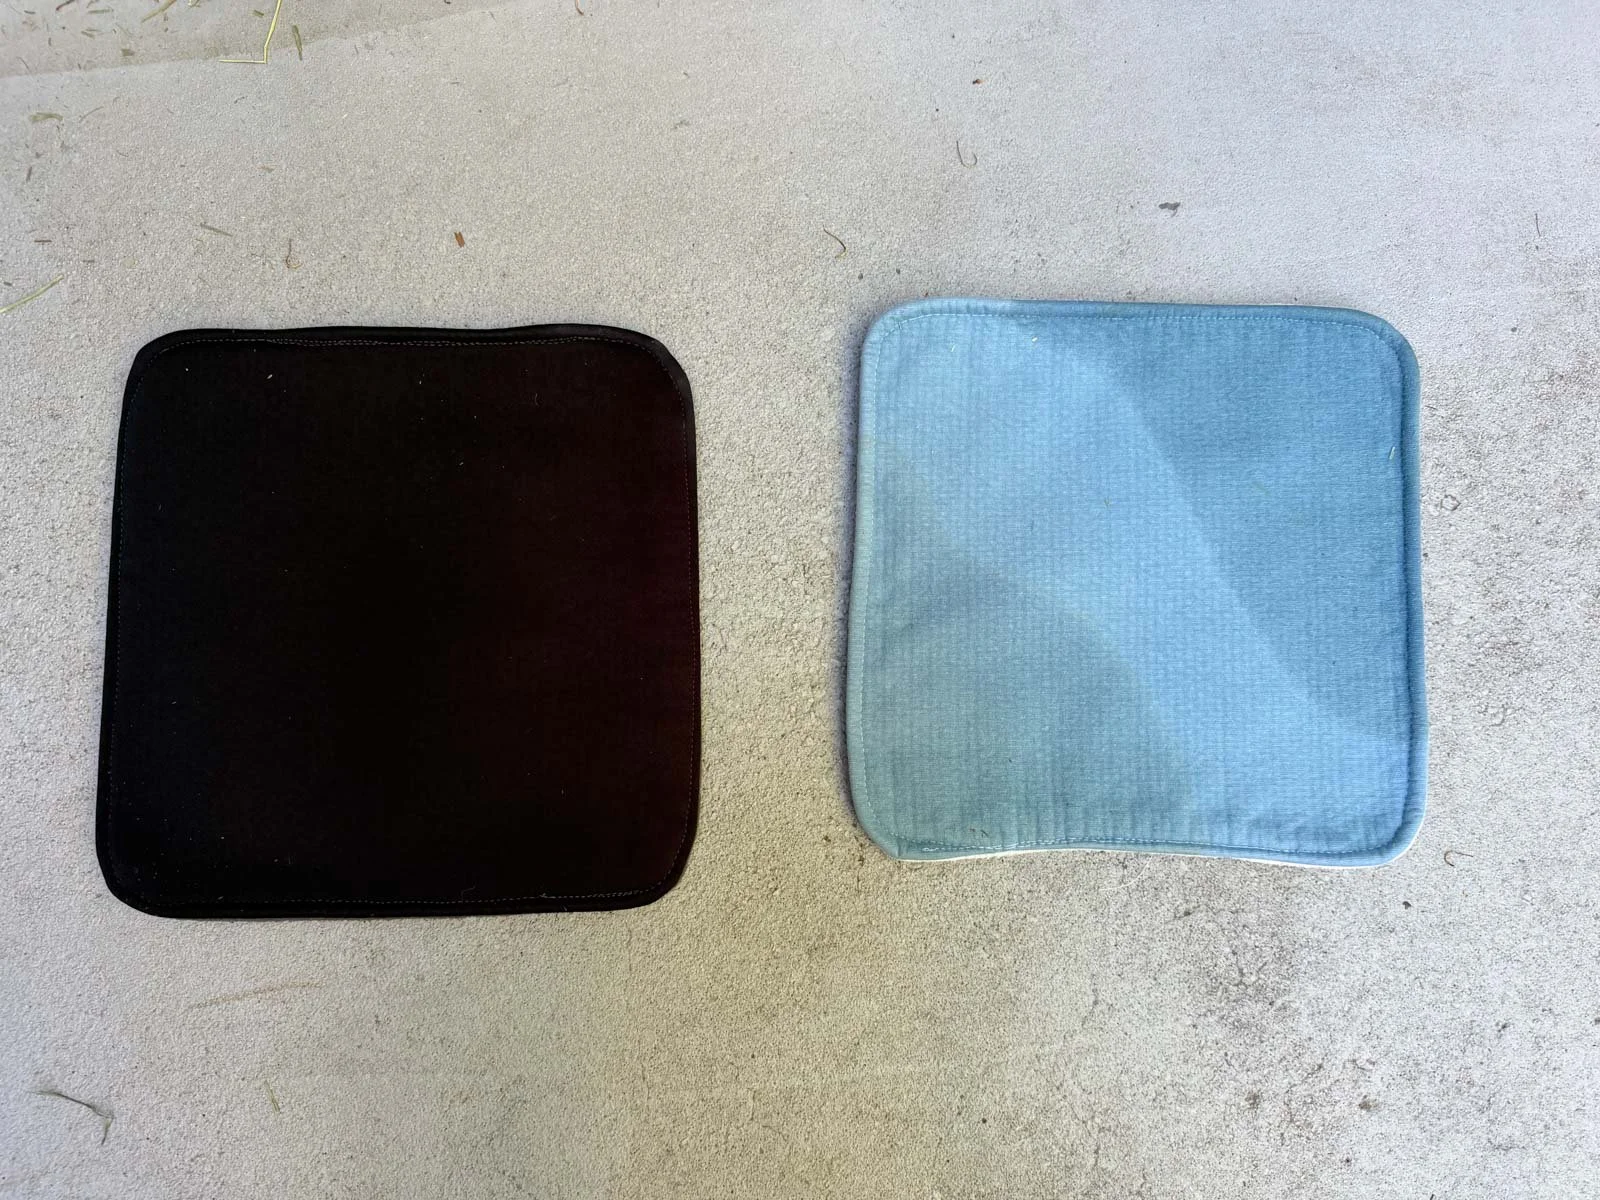
Here is the polyester Heavy Duty Zorb 4d on the left, and the cotton blend Zorb 4d on the right, both after the guinea pigs used them for 24 hours. It’s a little hard to see on the black, but there are no markings and no signs of moisture on the polyester, while the cotton has clear marks and feels damp to the touch.
So now we knew the layers, but how to attach them all? We definitely didn’t want to quilt the bottom layer to the top two layers, because every pinprick through the waterproof layer is just an opportunity for liquid to seep through. We decided to perimeter stitch the Zorb 4d to the top two layers of fleece/Zorb Original to create a waterproof mat that pretty much nothing can get through. And that definitely worked! To be honest, the Heavy Duty might be a bit of overkill, and as we sew pads in the future, we may try the regular polyester version to compare how that performs. Also, the regular 4d version does come in silver, and it might be nice to have all three layers be that. But for now, we’ve sewn mats of this combination in all sorts of sizes and shapes, from 42” x 28” all the way down to small litter tray sized 13”x13”, and we cannot find any fault with it so long as the polyester Zorb 4d is used and not the cotton.
And the winners are:
Top Layer: Dri-Qwick Sports Fleece Silver
Middle Layer: Zorb Original Silver
Bottom Layer: Zorb 4d Heavy Duty
Three layers, one brand — not sponsored, just what worked.
Keep an eye on our resources page, as we’ll soon be uploading a detailed guide with all the construction details.
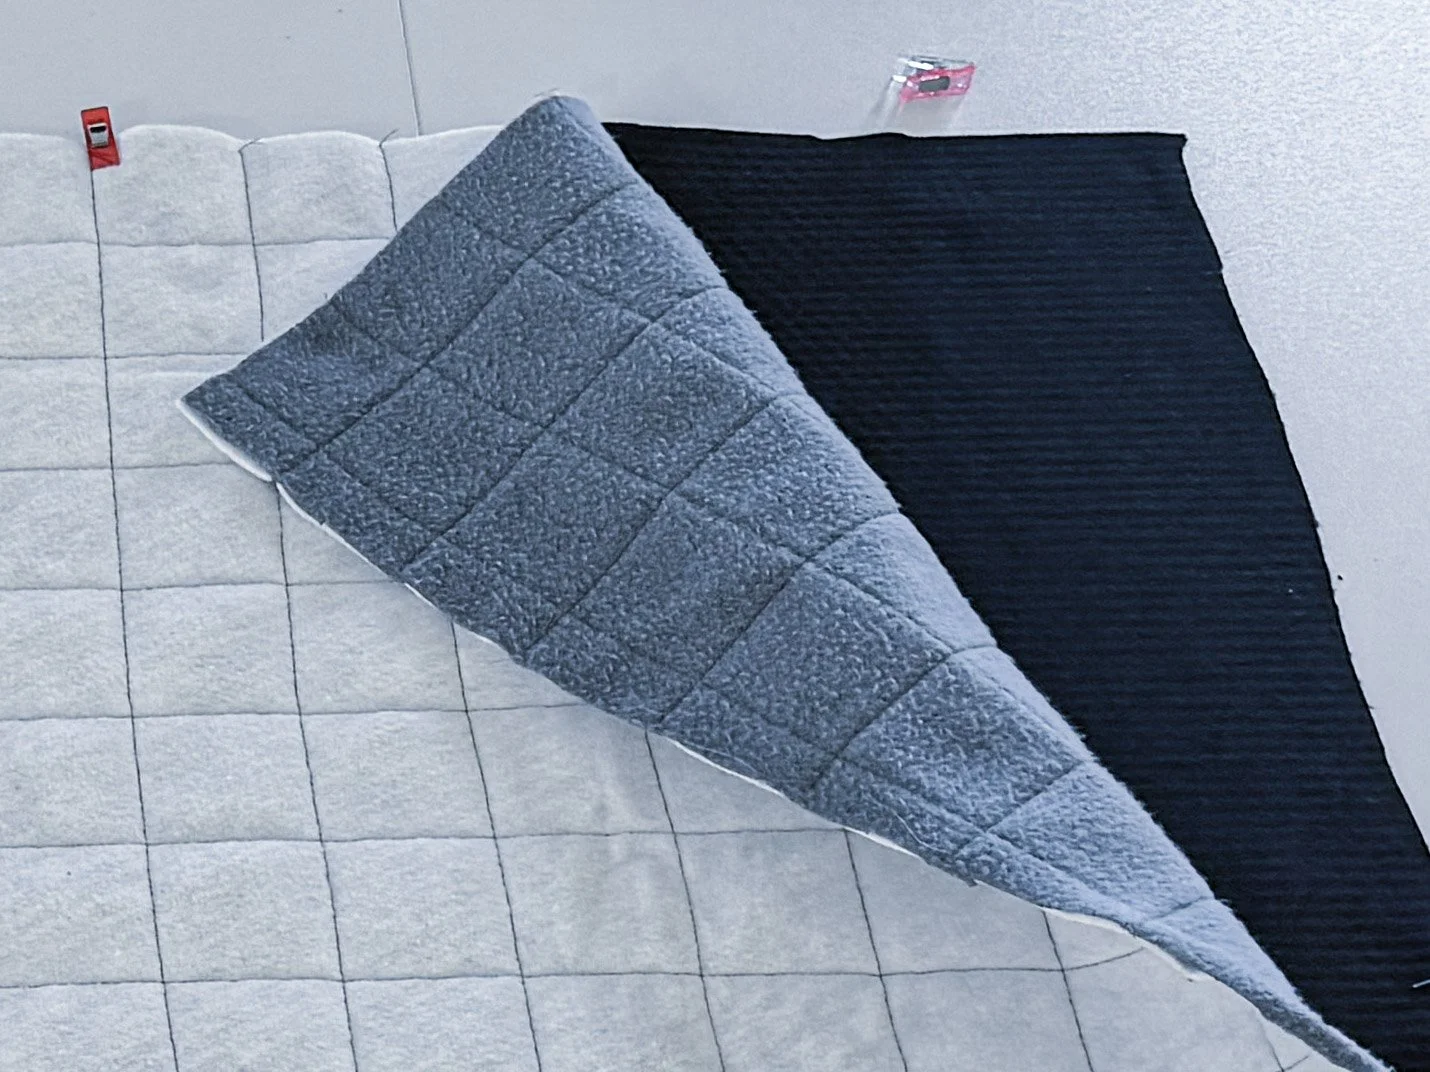
The final layers; notice the 2” quilting grid.