Sewing Guide: An Enormous Liner We Can’t Use
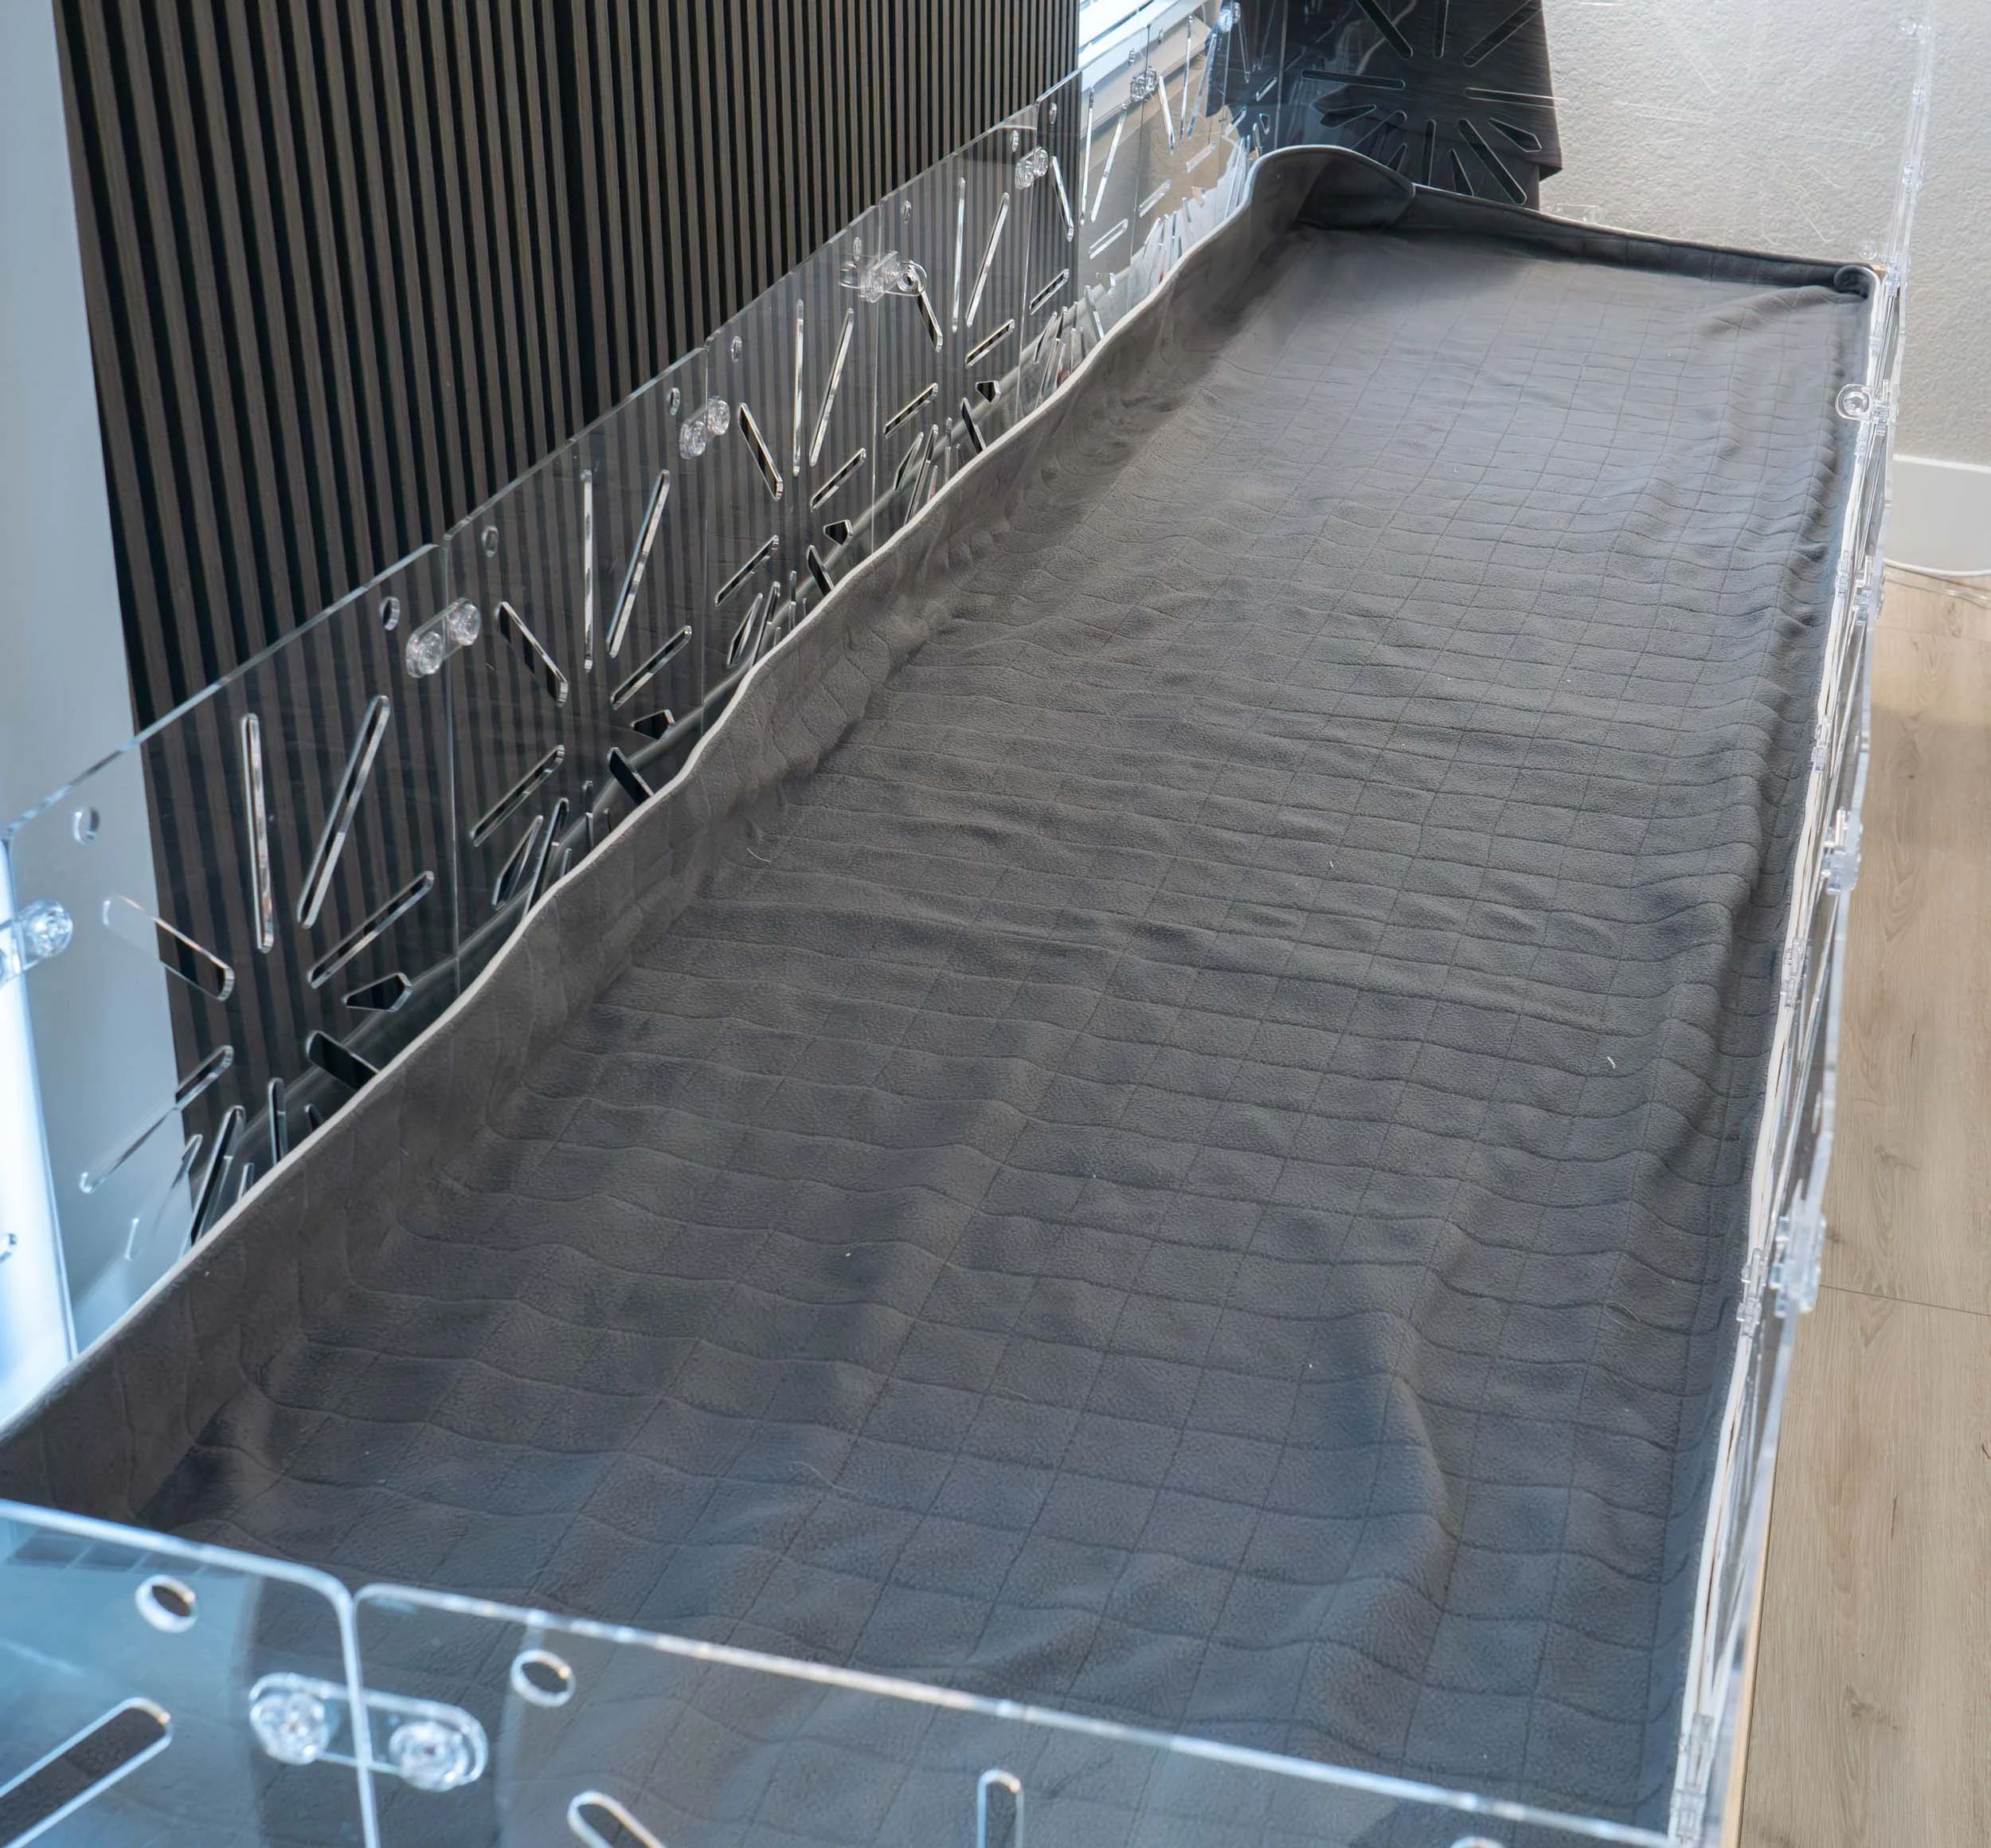
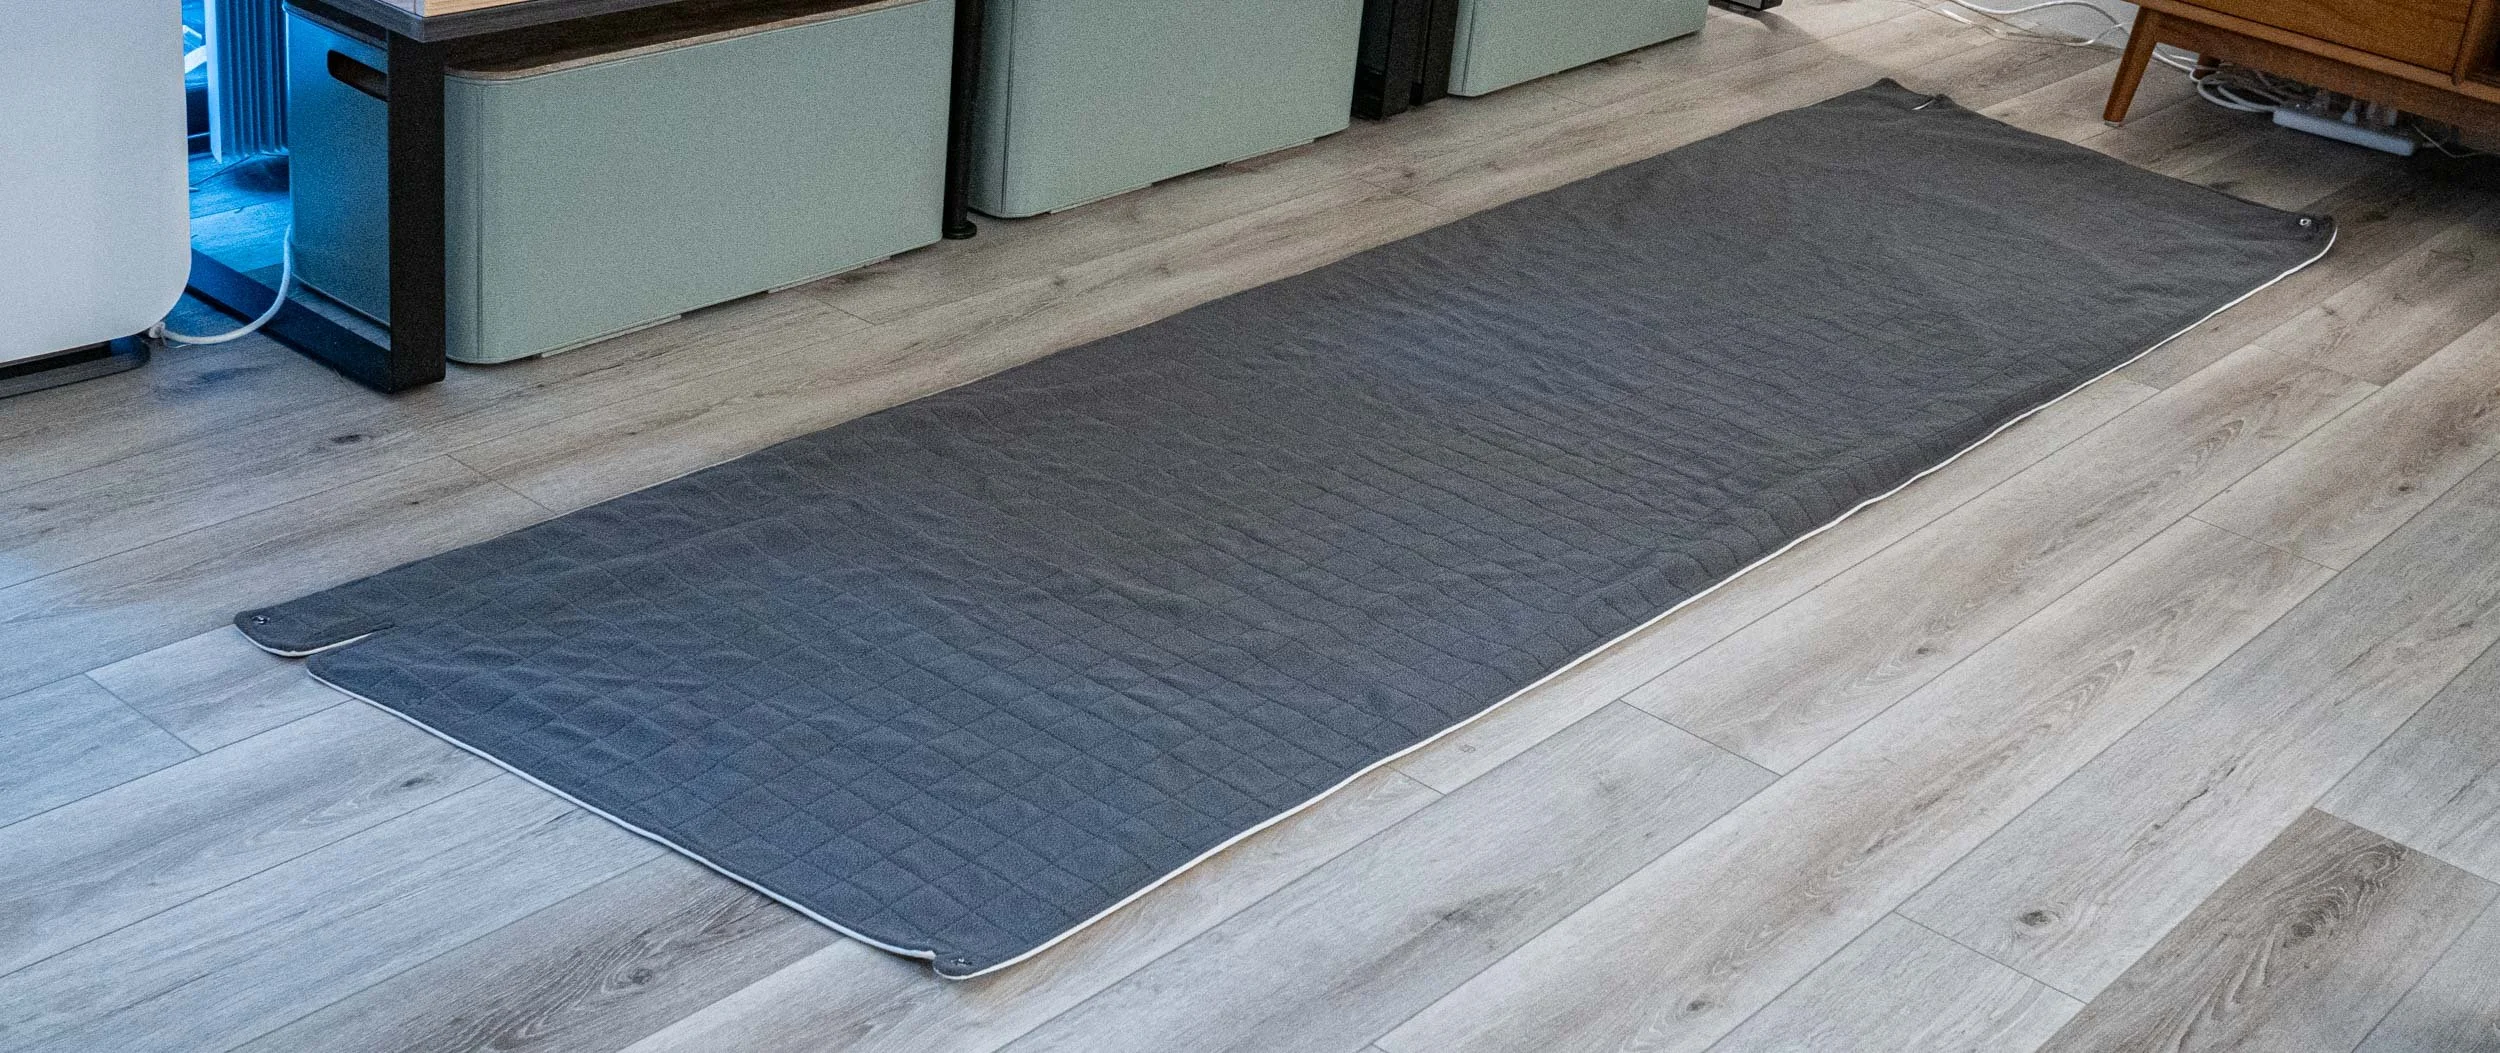
I made a huge liner with a finished size of 120” long by 33” deep. That is a lot of liner.
During the time we had our habitat expanded to help the boys get along, we needed a waterproof liner for it. I could have bought two 2x4 liners, but I decided to create one big one. The pigs loved it, and it washed up great and amazingly didn’t cause our machine to go out of balance. I would have kept it in permanent rotation had we not reduced the size of the enclosure after the drama that left us with only two girls. I wanted to share even though it’s currently waiting in the sewing stash to be repurposed into other projects. So here’s the story of a too-big liner with a too-short life.
I knew it would be a big undertaking to craft this thing, and it was going to be so large that I wondered if I would be able to physically fit half of it in the throat of my sewing machine as I quilted it, but I was up for the challenge. Thanks to all of my research into proper pee pad liners, I knew I would make it out of three layers: Wazoodle’s Qwik Dry Fleece, Zorb Original, and Zorb4D. That combination has proven to be bulletproof for everything the pigs can deposit on it.
Step 1
I started by sketching it out, planning to have a 4 inch tall back and a 1 inch tall front, tapering on the sides between the two. This would make the front much nicer to look at and let us see more of the pigs instead of them being half blocked by a wall. I bought five yards of dot-gridded pattern paper, because cutting a long line perfectly straight into fabric is not fun to do with rulers alone, especially when the heavier fabrics don’t cut well with rotary cutters. I carefully cut it to 124” x 36”, just enough to account for seam allowance as well as the raised sides.
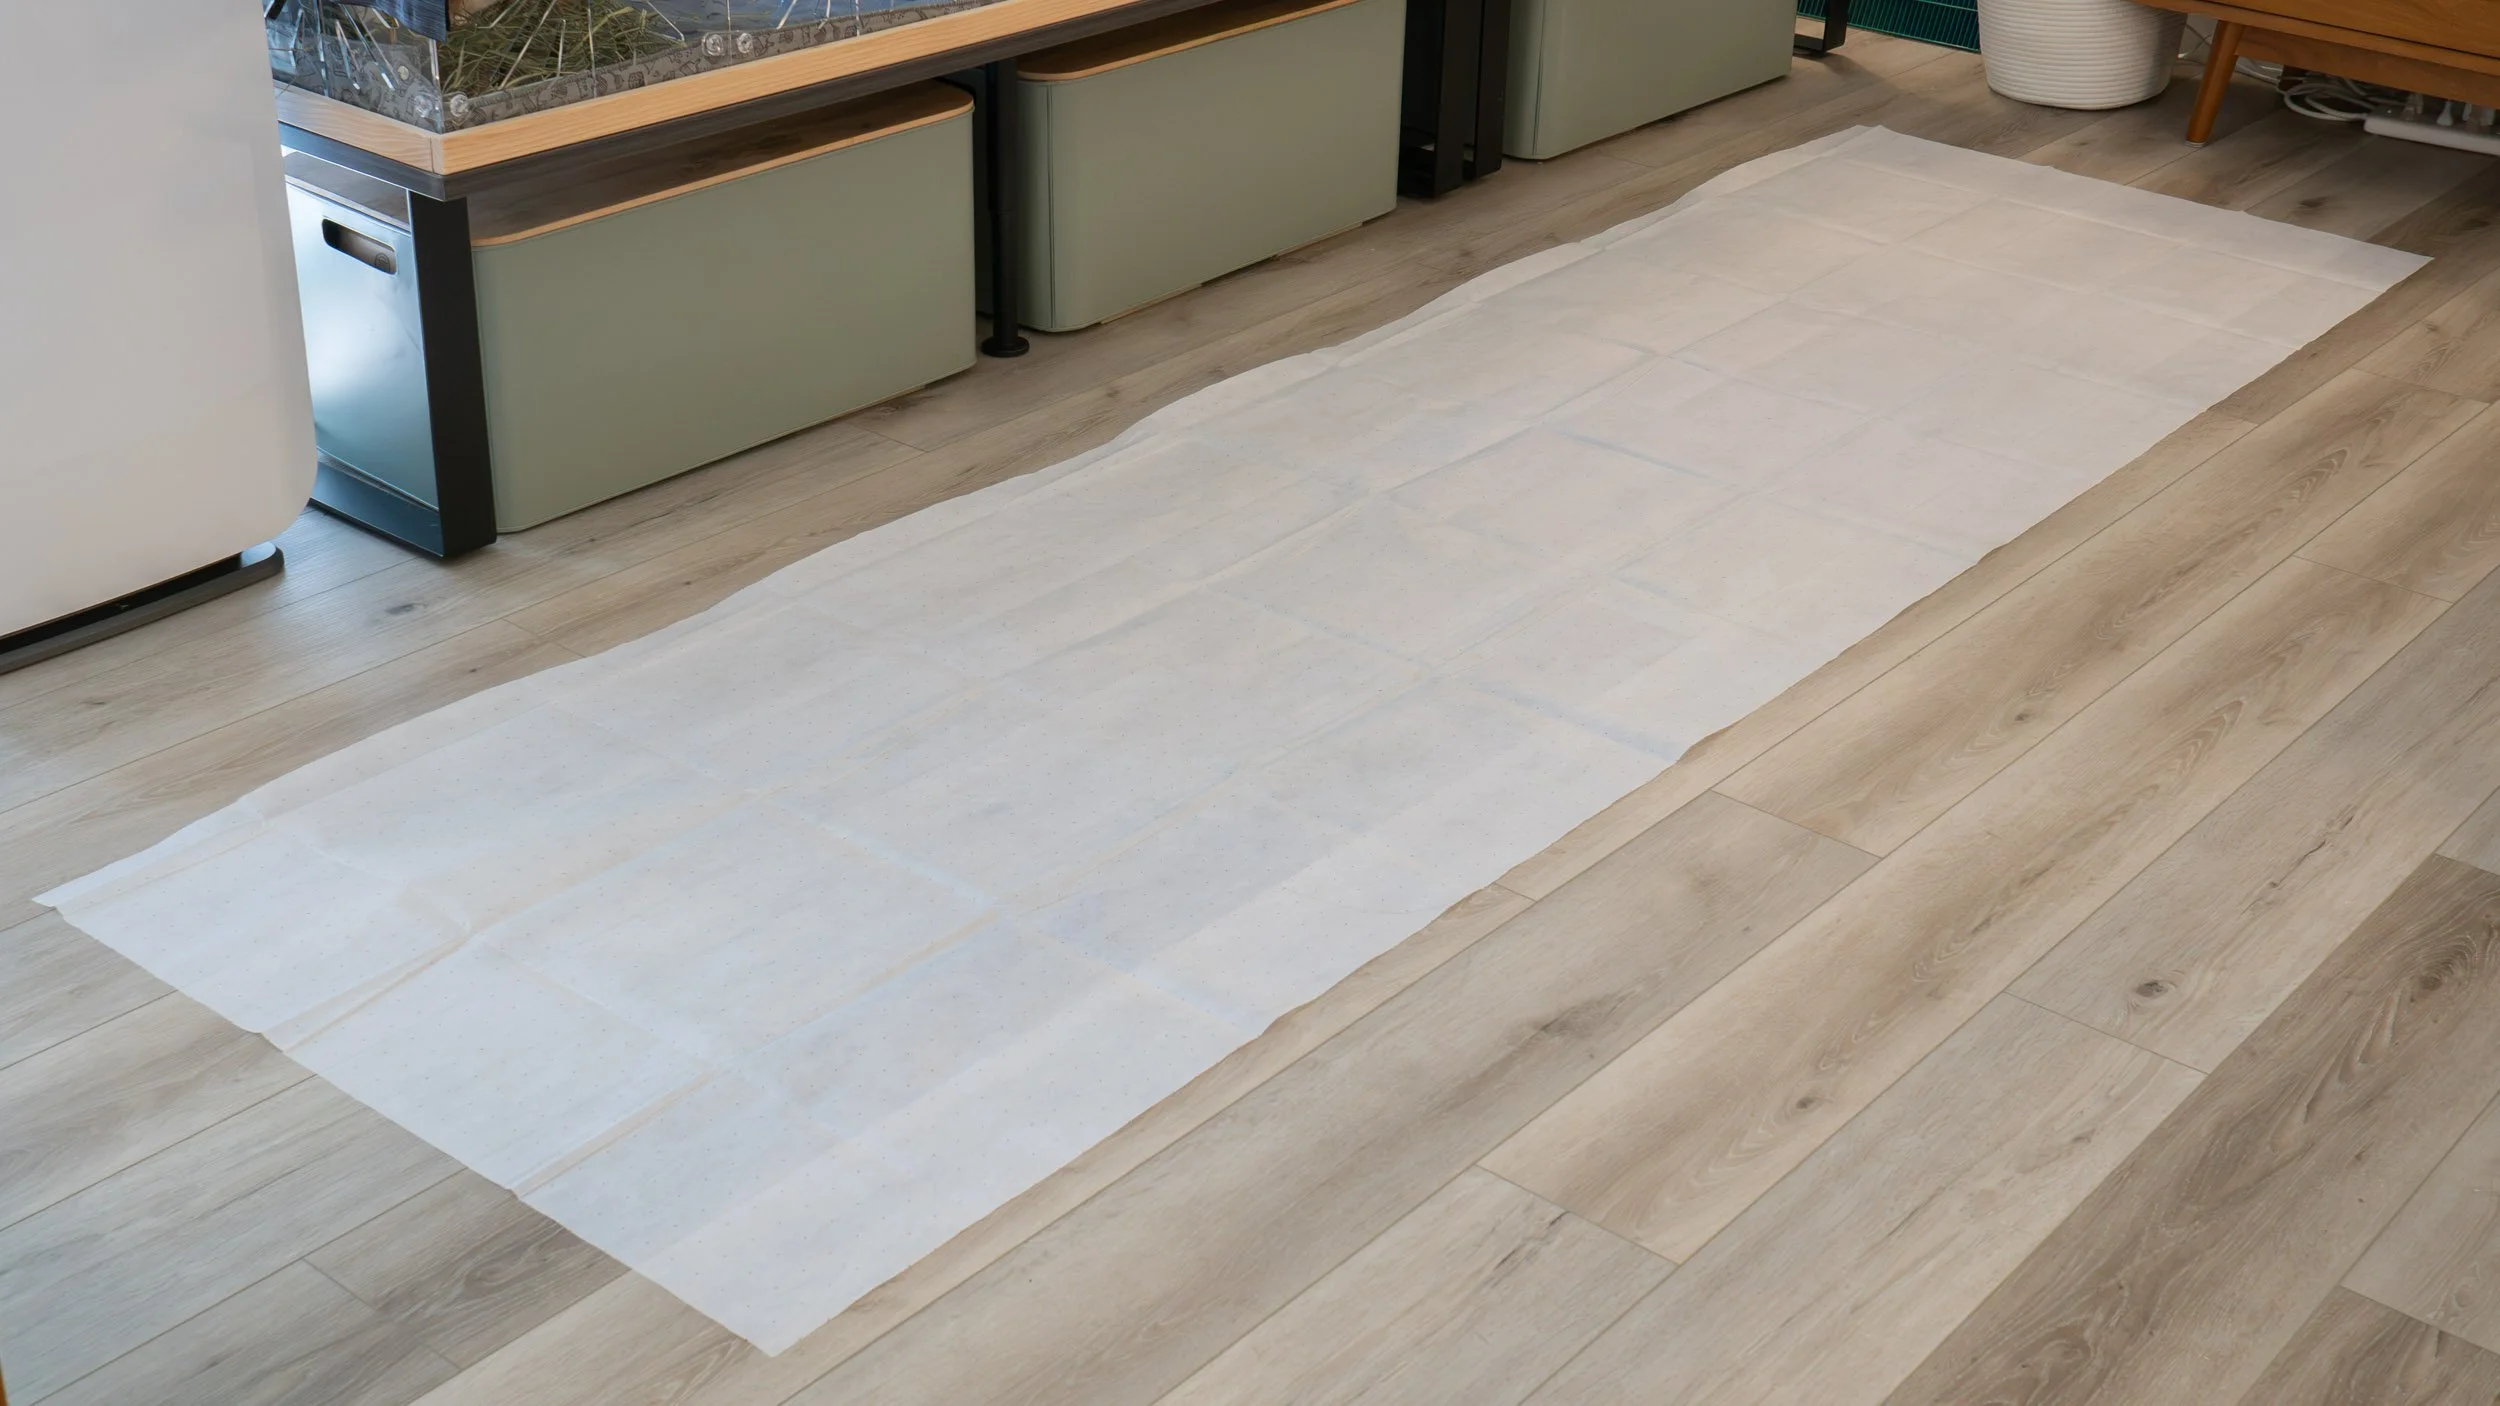
Pattern paper cut to exact specifications
Step 2
I set aside the pattern paper and put four yards of Zorb Original on the floor, topped with four yards of fleece, and then the pattern piece went on top of it, as a general guide for where to cut. Rather than cut it exactly to the pattern dimensions, I left a healthy margin around the paper. Fleece is persnickety to work with. Even if cut exactly right, it seems to have a mind of its own and shifts shape, and then totally changes dimensions again after it gets quilted. I knew I’d be using the exact dimensions of the pattern piece later in the project, but for now, I needed a big margin of error to accommodate anything funky that happened to the fleece while quilting it. As seen here, the zorb and the fleece were cut exactly the same. It will be evident in later photos that it doesn’t stay that way as it gets quilted.
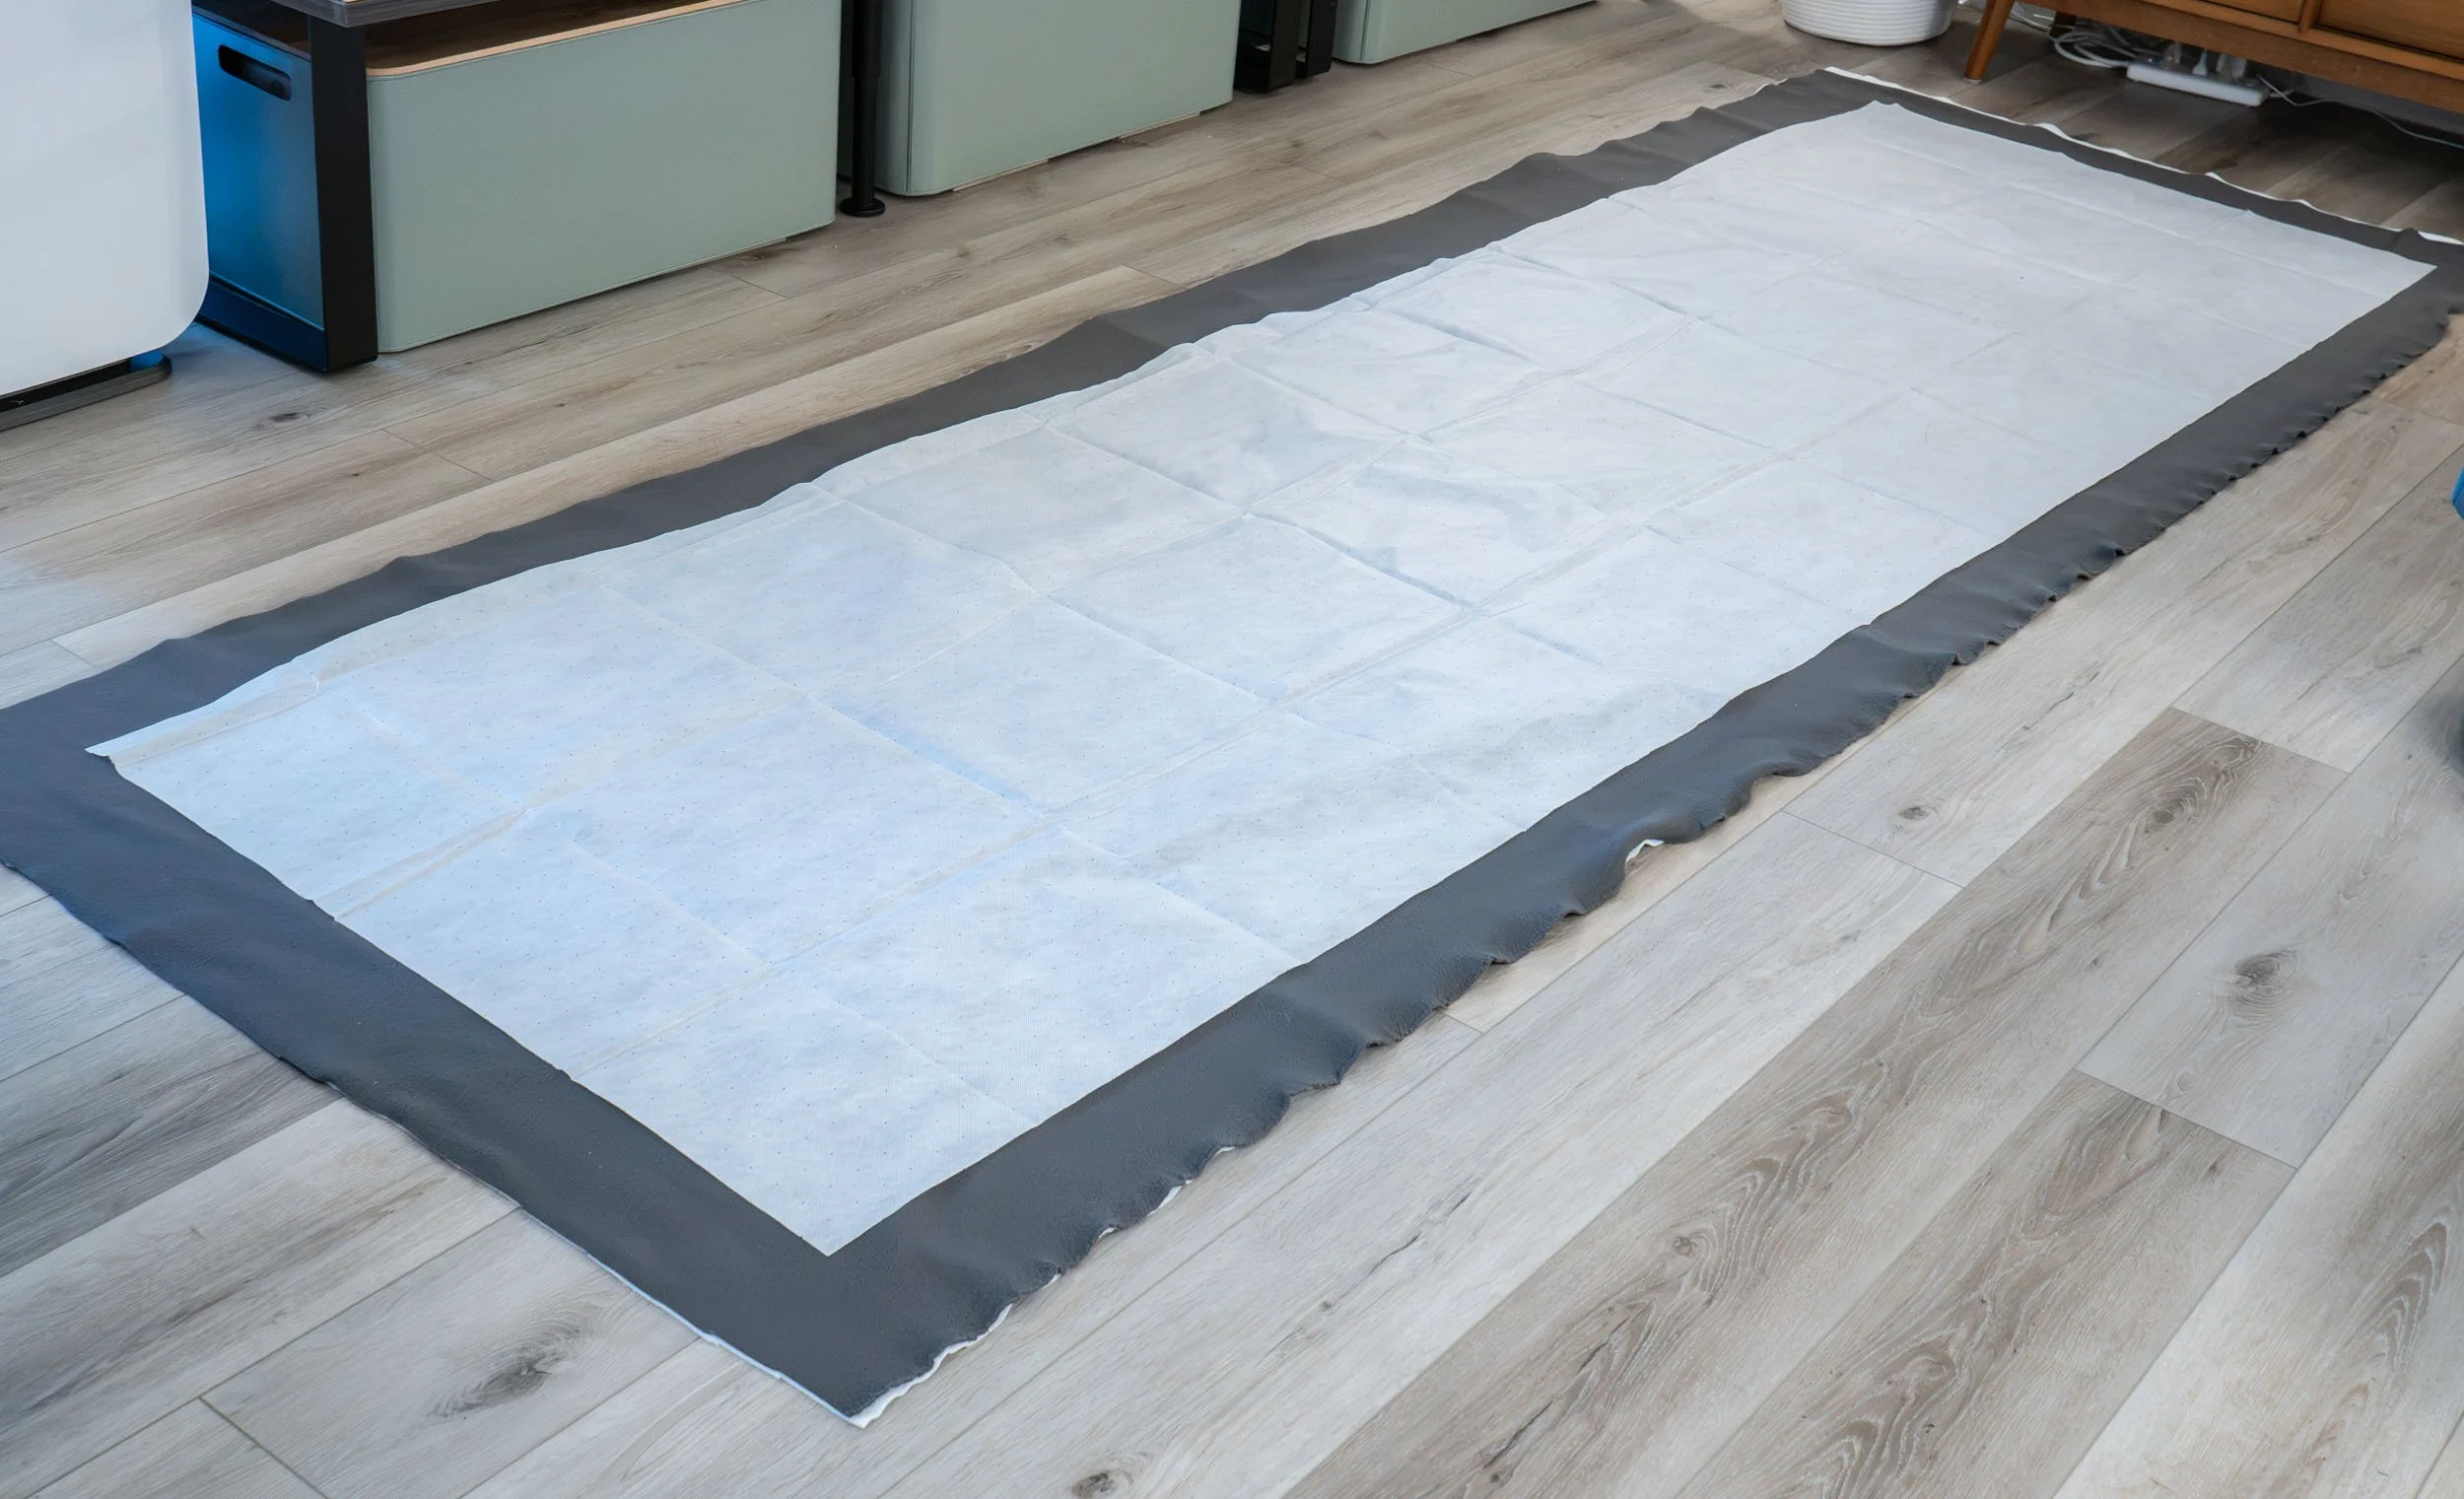
A layer of zorb original, topped with fleece, with the pattern centered on top, cut with a wide margin on the pattern.
Step 3
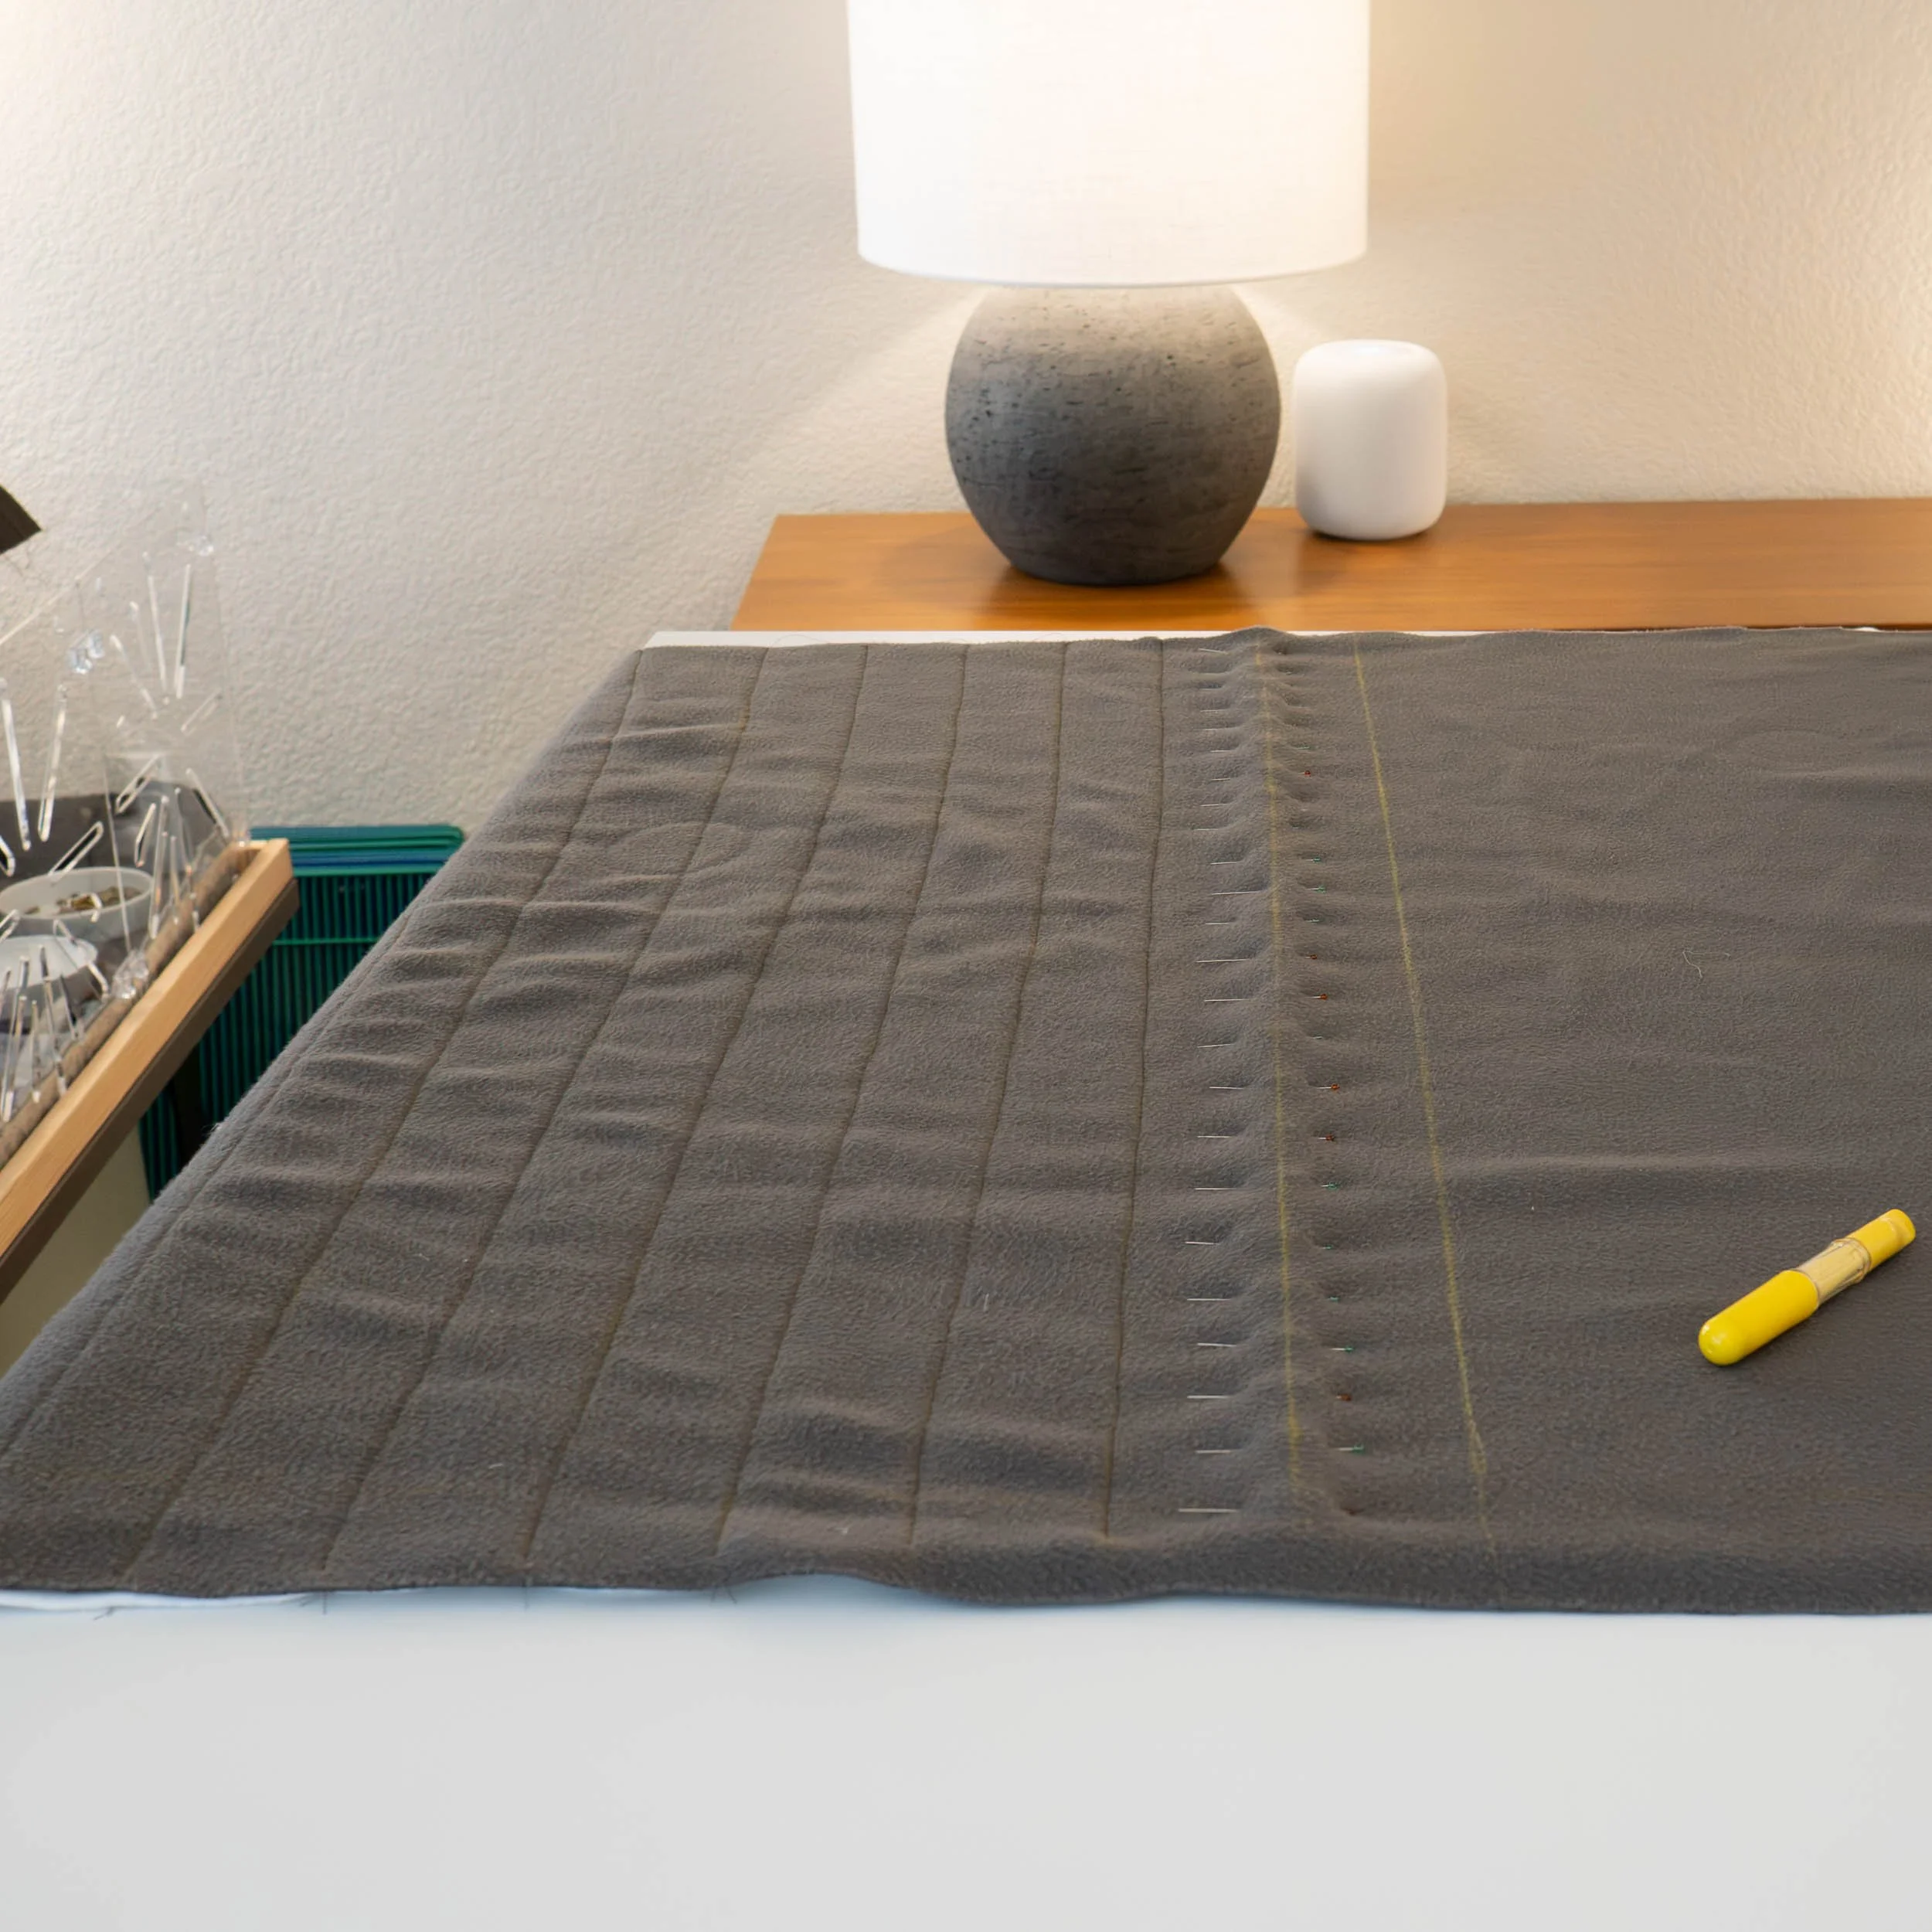
Time to start quilting the fleece to the zorb. This is a tedious process, but I knew doing it would really help the finished liner not shift around and would make it a much more useful finished product. I briefly debated doing 1” grids, realized how long that would take, and ultimately settled on 2” grids. I measured the center point, and drew a line with the chalk marker, and then used an ample amount of pins to hold it in place. I’ve learned from other projects that it’s best to start in the middle and work outward to try to keep the distortion minimal. I sewed the first center line, and then I had the bright idea to take a shortcut and use a seam guide to sew the mirroring lines. That seemed like such a great idea until I did it. I thought I’d be able to hold the fleece stable enough, but after finishing one line with the seam guide, it was wrinkled and distorted in unpleasant ways. So I got to enjoy some quality time with my seam ripper, and then used the chalk to mark the next line, pinned it, and sewed. Much better results. Rinse and repeat more than 60 times. Like I said, tedious. I spent a couple of weeks quilting a line here and there as time allowed.
Sewing machine settings for the quilting:
90/14 Chrome Stretch Needle
Walking foot
Straight stitch
Stitch length 4.0
Tension 5.25
Step 4
When all the short quilt lines were done, it was time to move onto the lines that run lengthwise. A big advantage here, there’s no need to pin each line or mark them, because the lines I already quilted keep the fleece stable. Using the seam guide here made sewing in 2” increments super easy, so it wasn’t an entirely bad idea, I just tried to do it too soon. Again, I marked the center line, put on headphones with great music, and got into a flow. That bobbin level needs watching though, even with a jumbo bobbin. It has a way of running out of thread without it being noticeable. Especially while I’m grooving to some Daft Punk. My dream sewing machine will have a bobbin level reader.
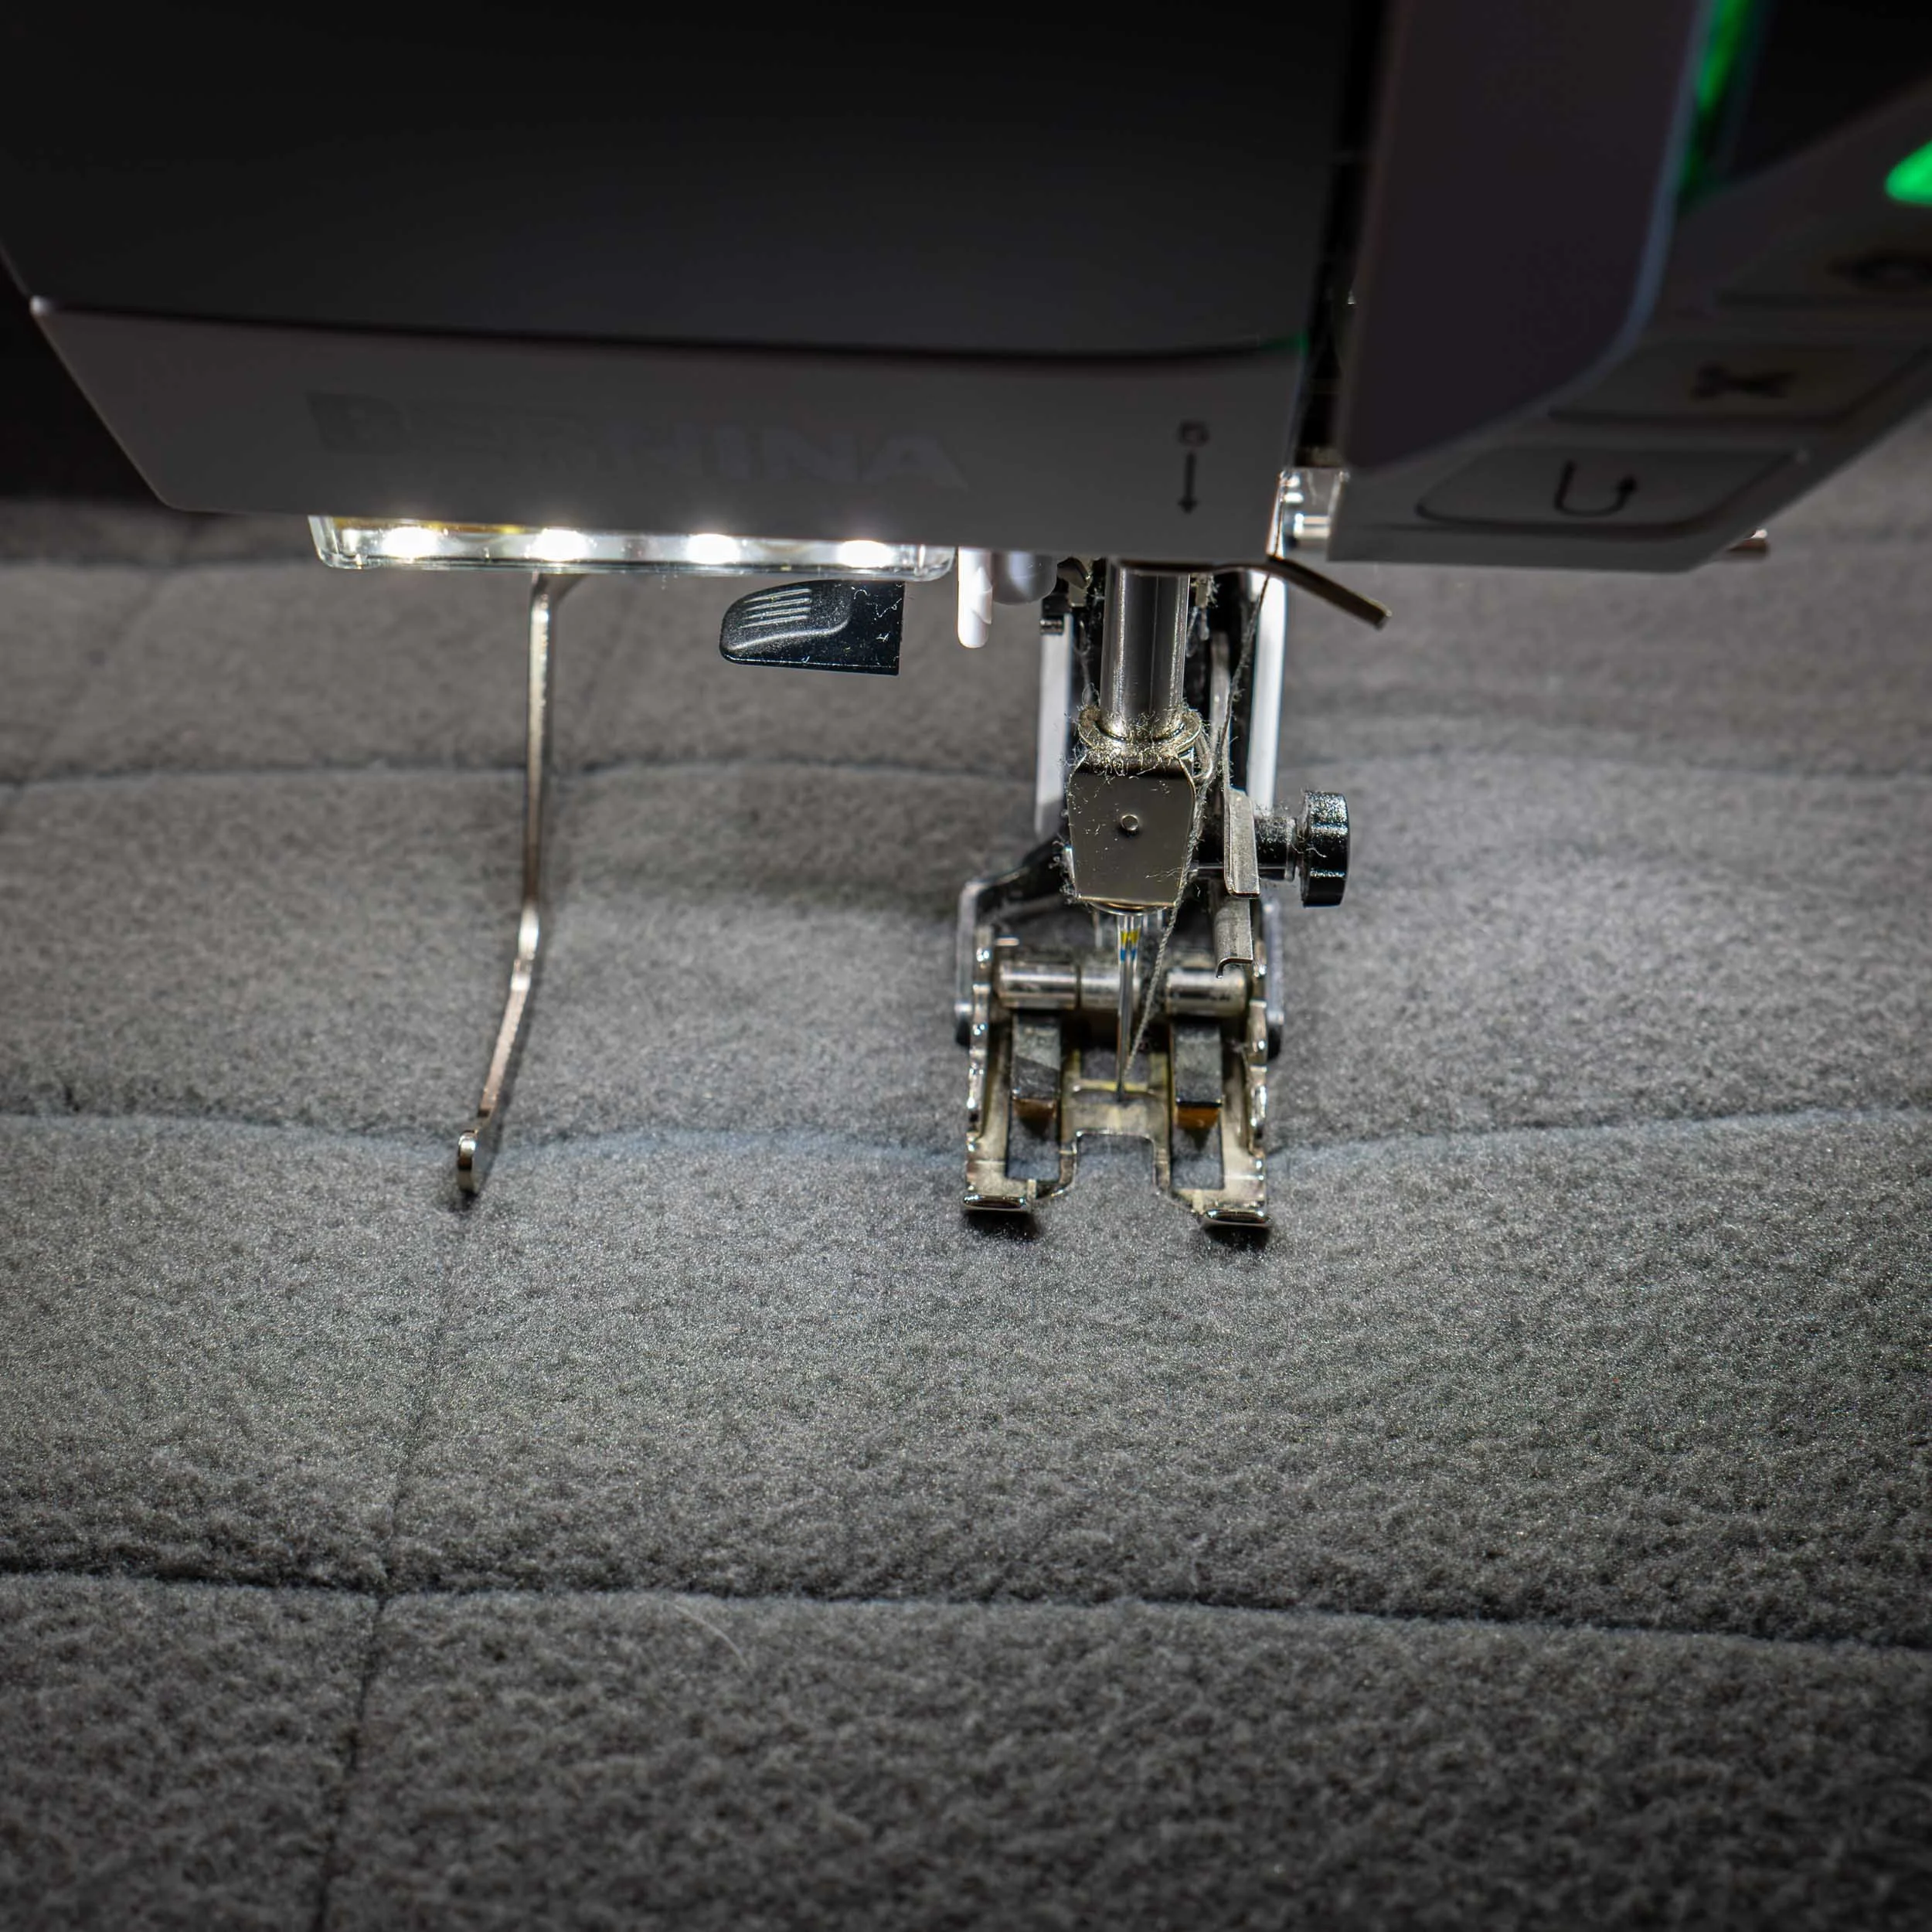
I used the same machine settings as the last step, with the addition of a seam guide set to 2 inches.
I lined up the guide on an already sewn seam and went to town.
I really wish I’d paid more attention to the bobbin.
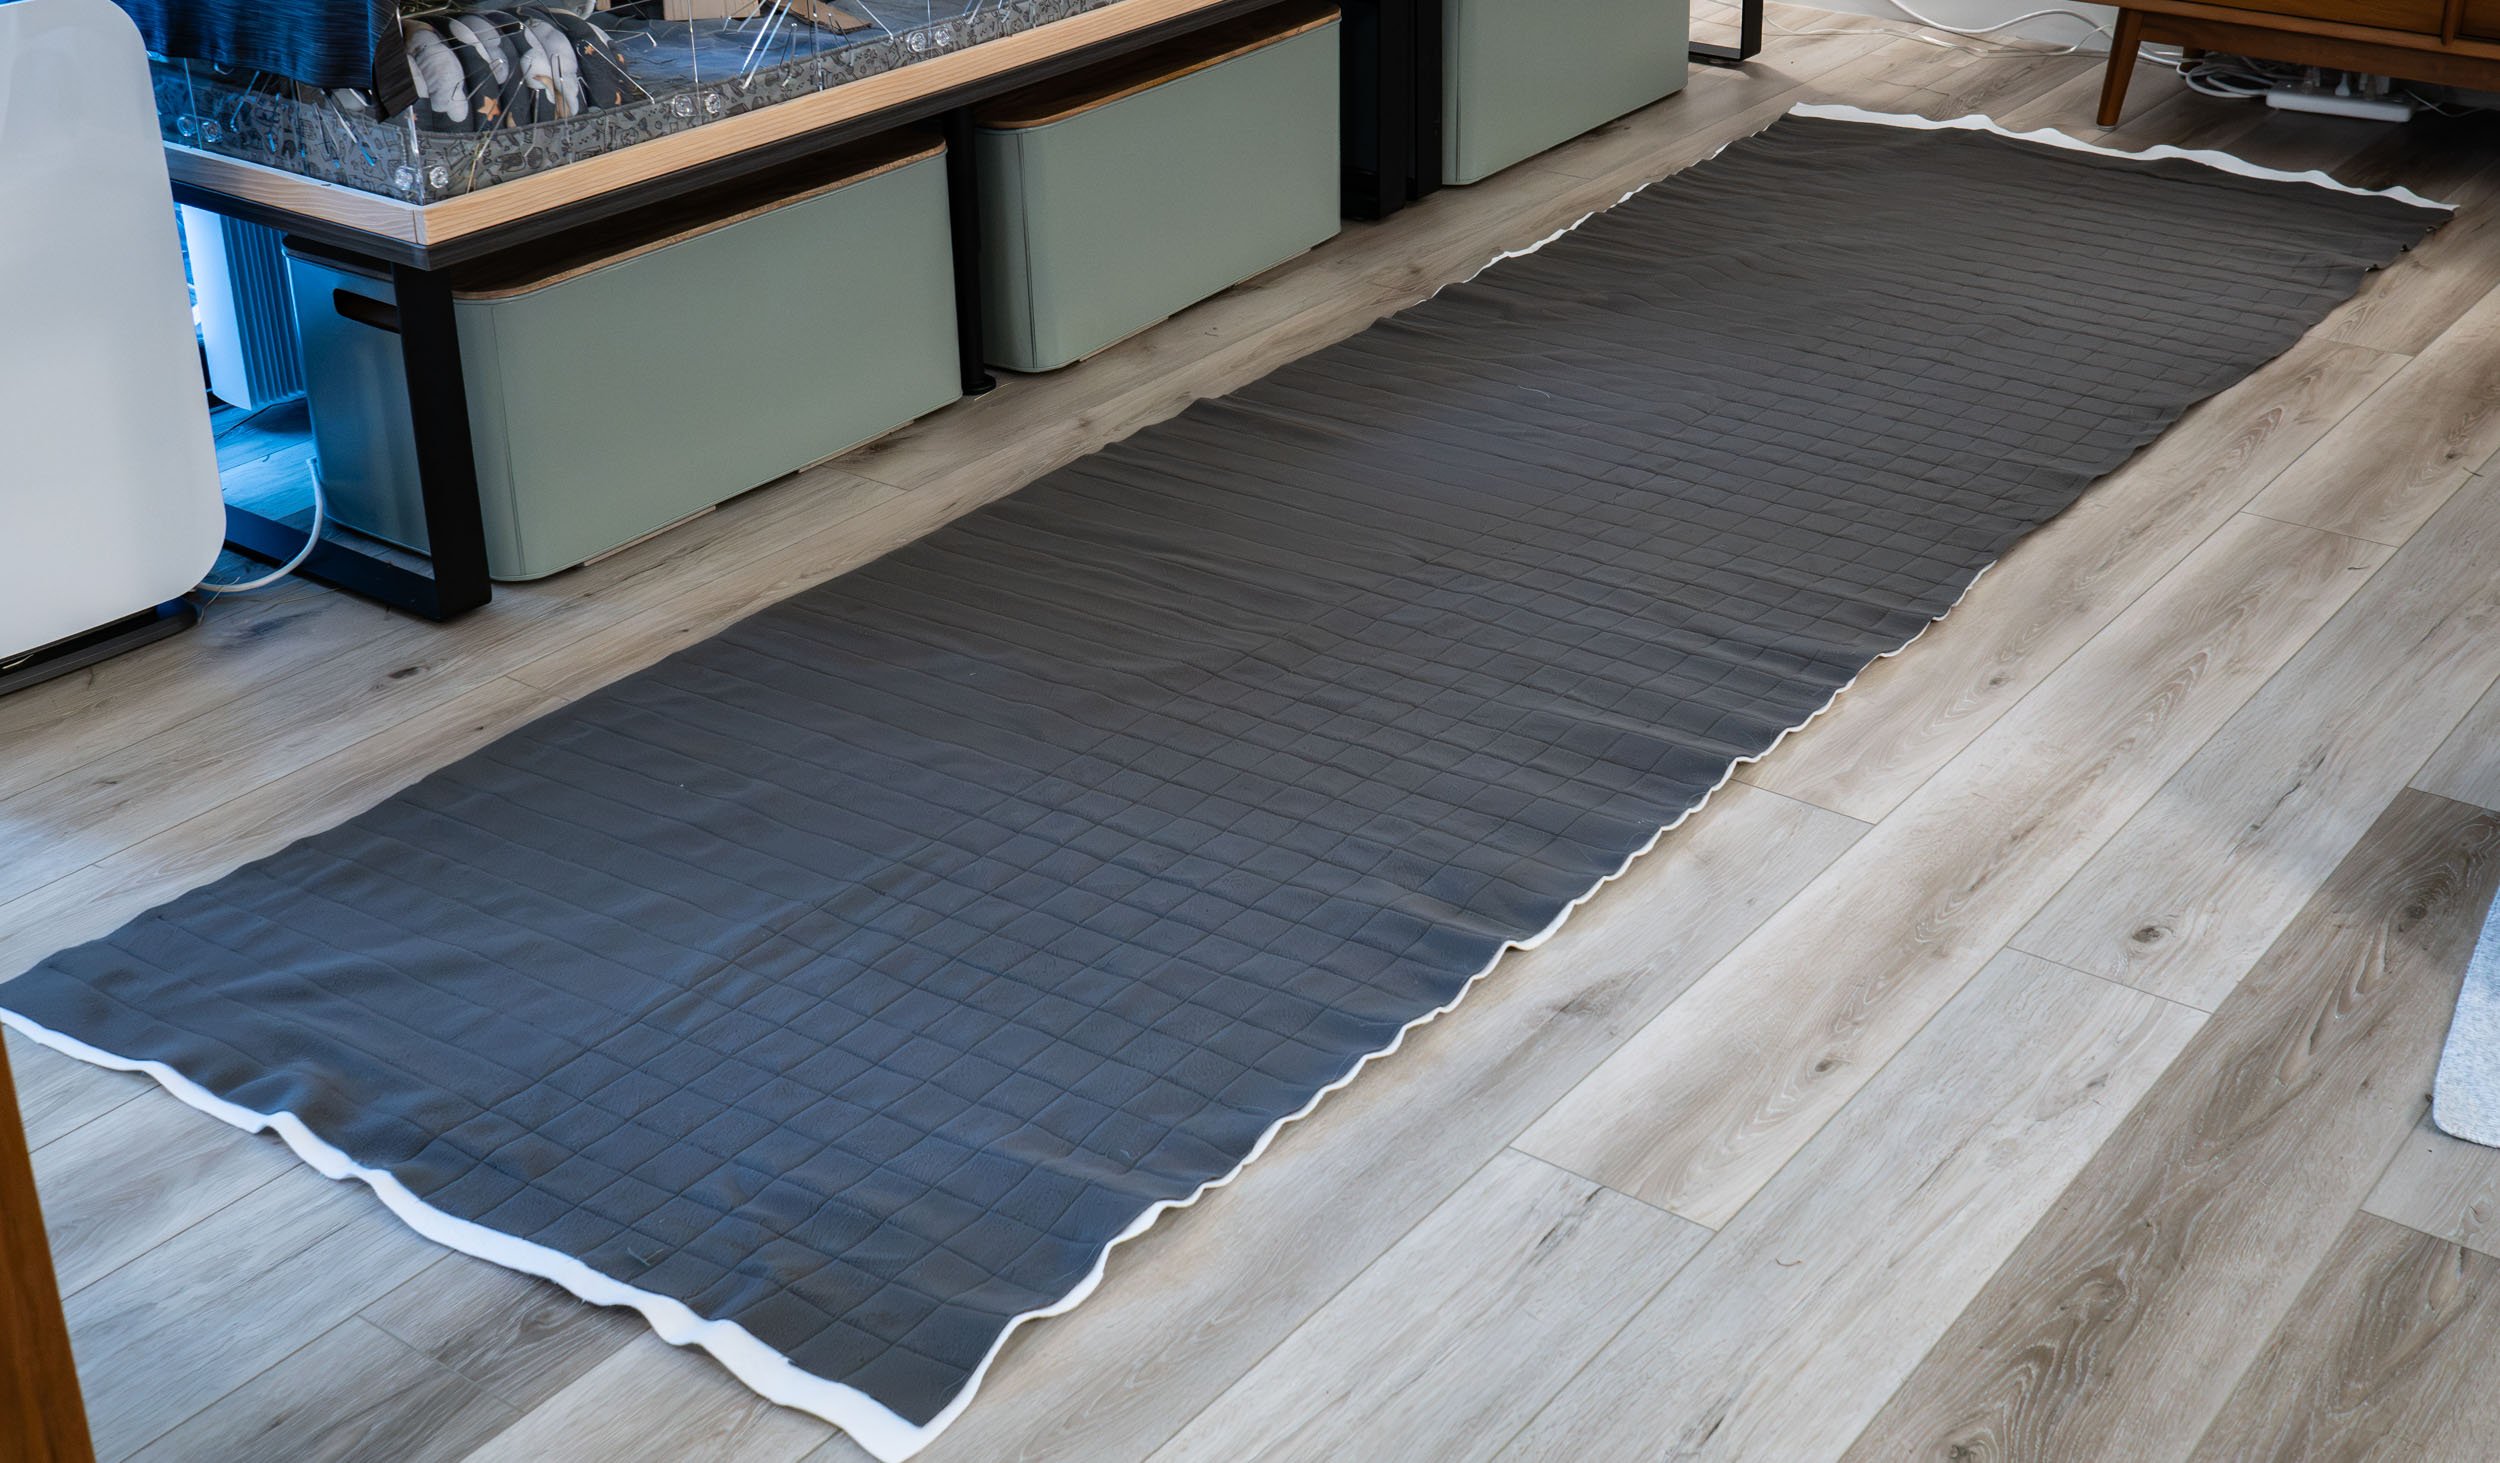
Here it is with the long quilt lines half done. It’s easy to see here how the fleece got squirrelly as it got quilted and no longer matched up with the Zorb underneath:
Step 5
Once the grid was entirely quilted, and my music library was exhausted, it was time to bring out the Zorb4D. This is where things started getting bulky. Zorb4D is basically a layer of Zorb with a waterproof lining and another layer of material attached. It has some substance. I laid it out face side up, and then placed the quilted fleece and Zorb Original fleece side down, so that the two right sides were facing each other. The paper pattern came back out and went on top. I grabbed a big bucket of sewing clips - they basically look like miniature binder clips and can be used instead of pins along edges. The reason that mattered is because using pins on the Zorb4D will poke holes in it and defeat the waterproofing. Using clips limits the number of holes made in it to the ones the sewing machine makes. I sat down on the floor with my clips and my trusty big pair of Gingher scissors and then carefully started cutting around the pattern, adding clips as I went to ensure it all stayed square. I cut through all three layers, trimming the quilted piece as well so everything matched the pattern piece exactly.
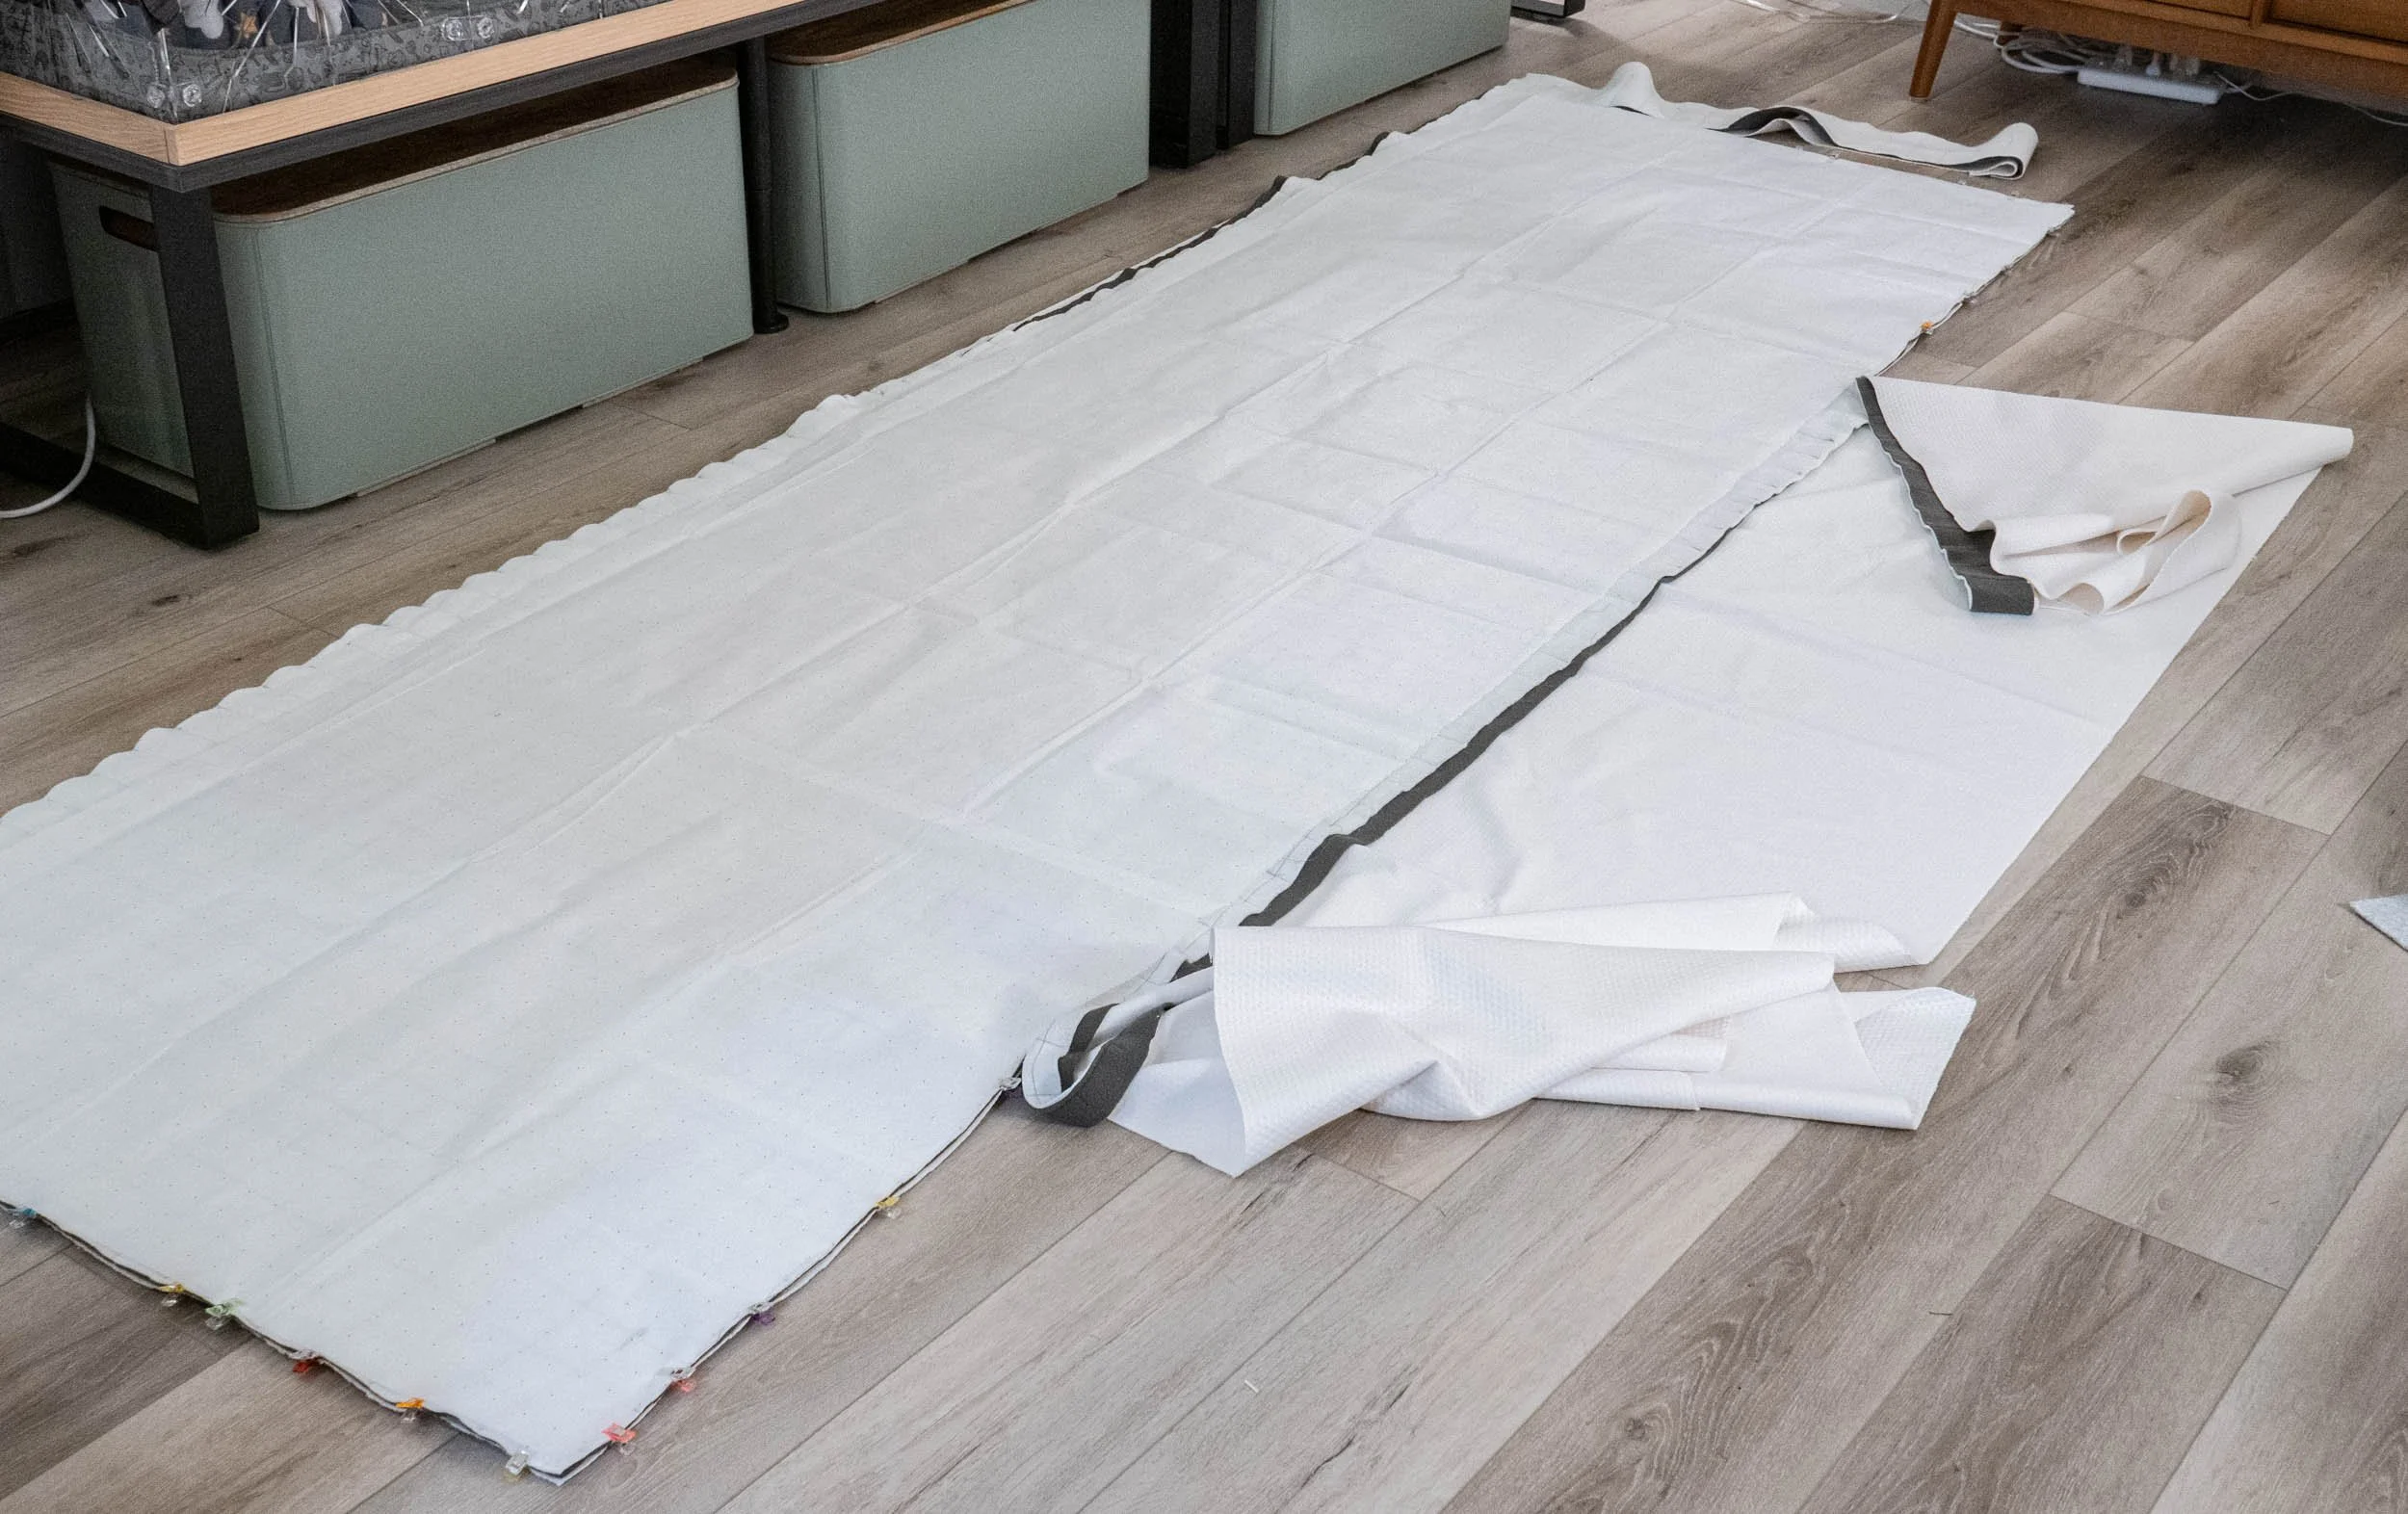
Looking closely at the pattern paper in the untrimmed area, there is much less margin left than what I started with.
Step 6
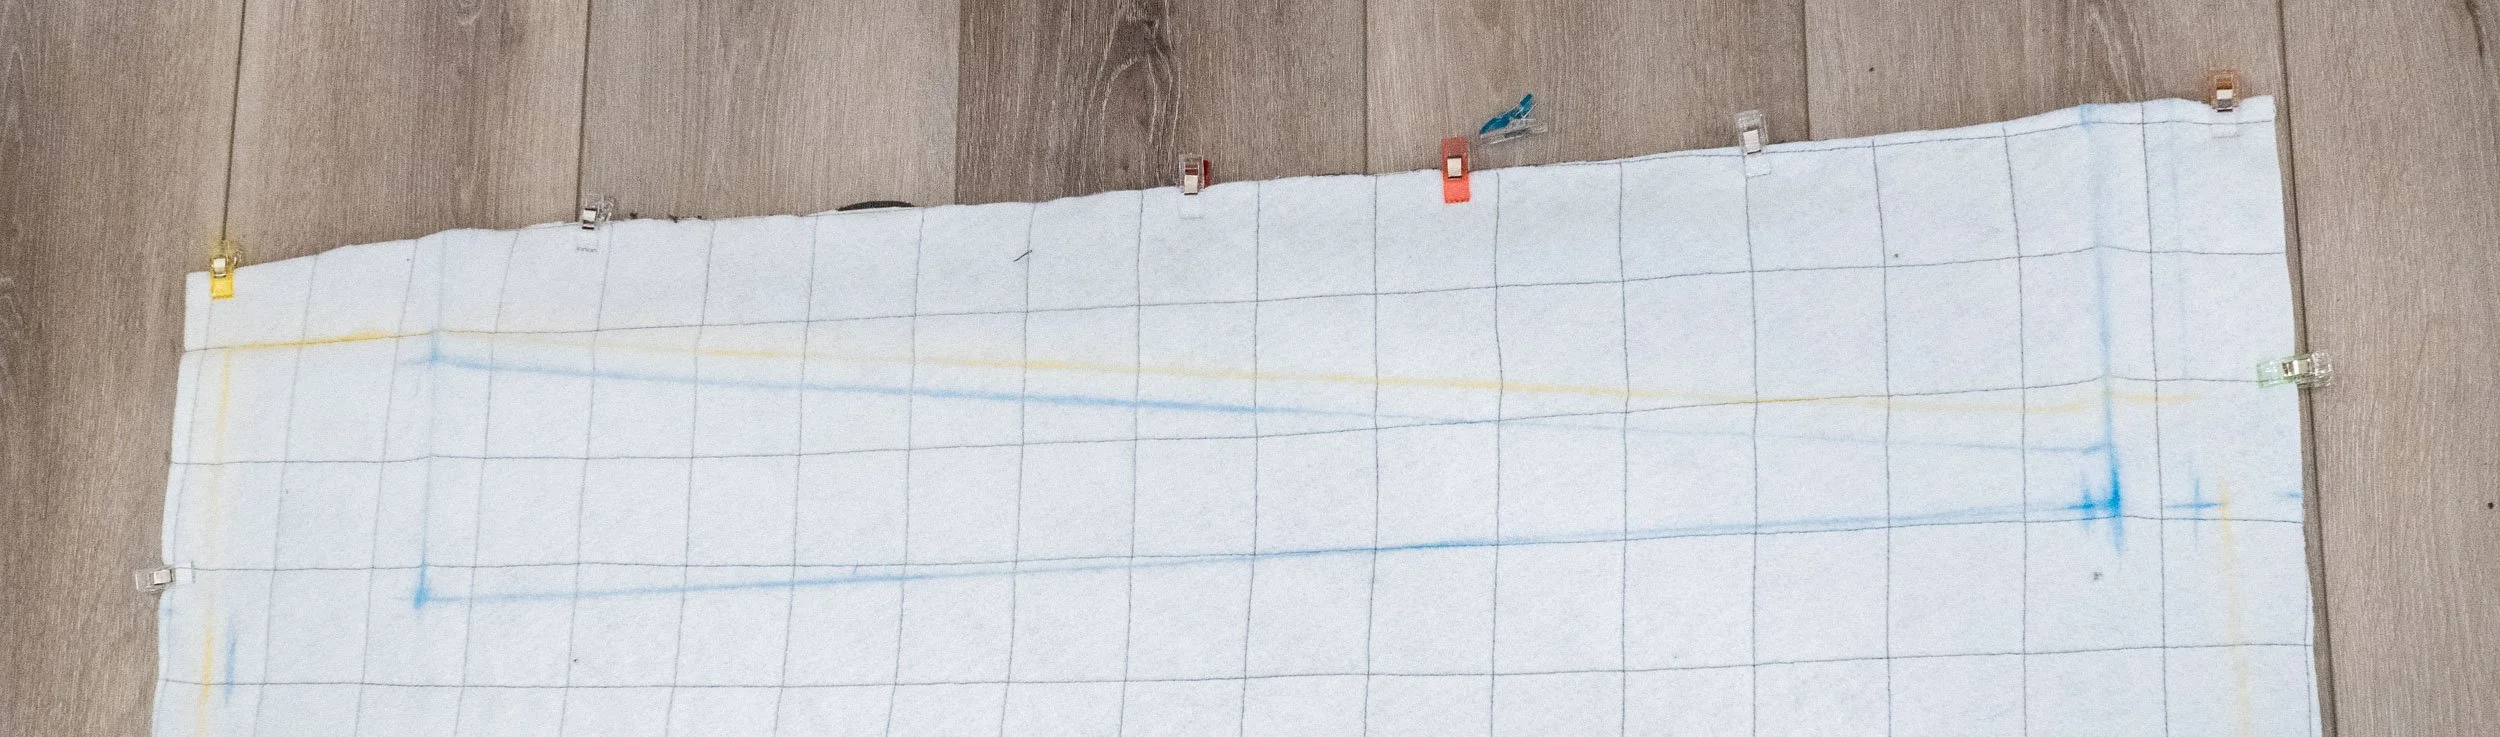
I now had a giant rectangle, and needed to think about how to sew it to achieve the sloped sides to make a nice transition between the 4” tall back and the 1” tall front. On each side, I marked out in blue chalk where the actual sides should be, and then used yellow chalk to mark 1” seam lines. I also drew lines in blue where I wanted to stitch around to create flaps. I didn’t worry about trimming the fabric around it as it would all get trimmed after sewing anyhow.
Step 7
Off to the sewing machine, where I switched my needle out to a microtex because it’s better at puncturing the waterproof layer, and then I sewed around the perimeter, joining all three layers together. On each of the ends, I sewed two narrow channels in to create flaps that would help with stabilizing the sides. I made sure to leave a big enough gap to turn it inside out. I probably could have left much less of a gap, but I didn’t want to take any chances given how bulky it was.
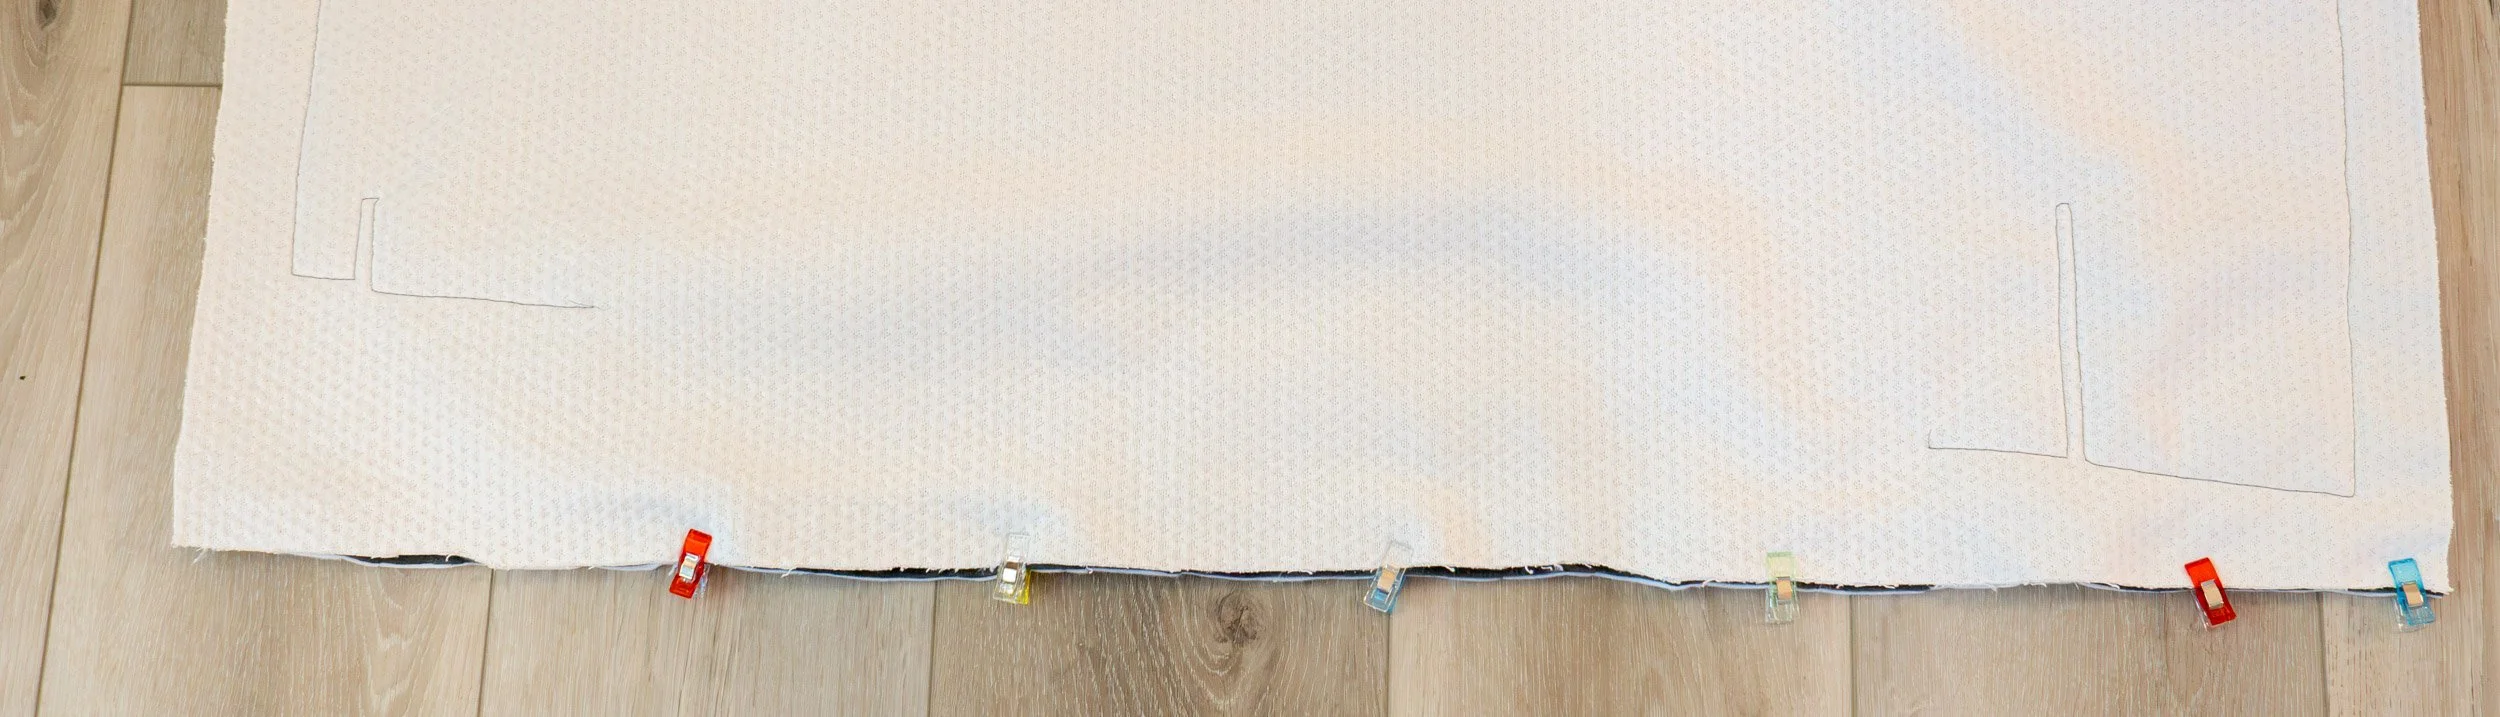
For machine settings, I released the pressure of the foot a little bit, switched to a Microtex 90/14 needle, set the stitch length to 4.5, and the thread tension to 5.
Step 8
Using the Gingher scissors (because no rotary blade is getting through this stack in one go), I cut fairly close all around the perimeter stitch, doing two important things:
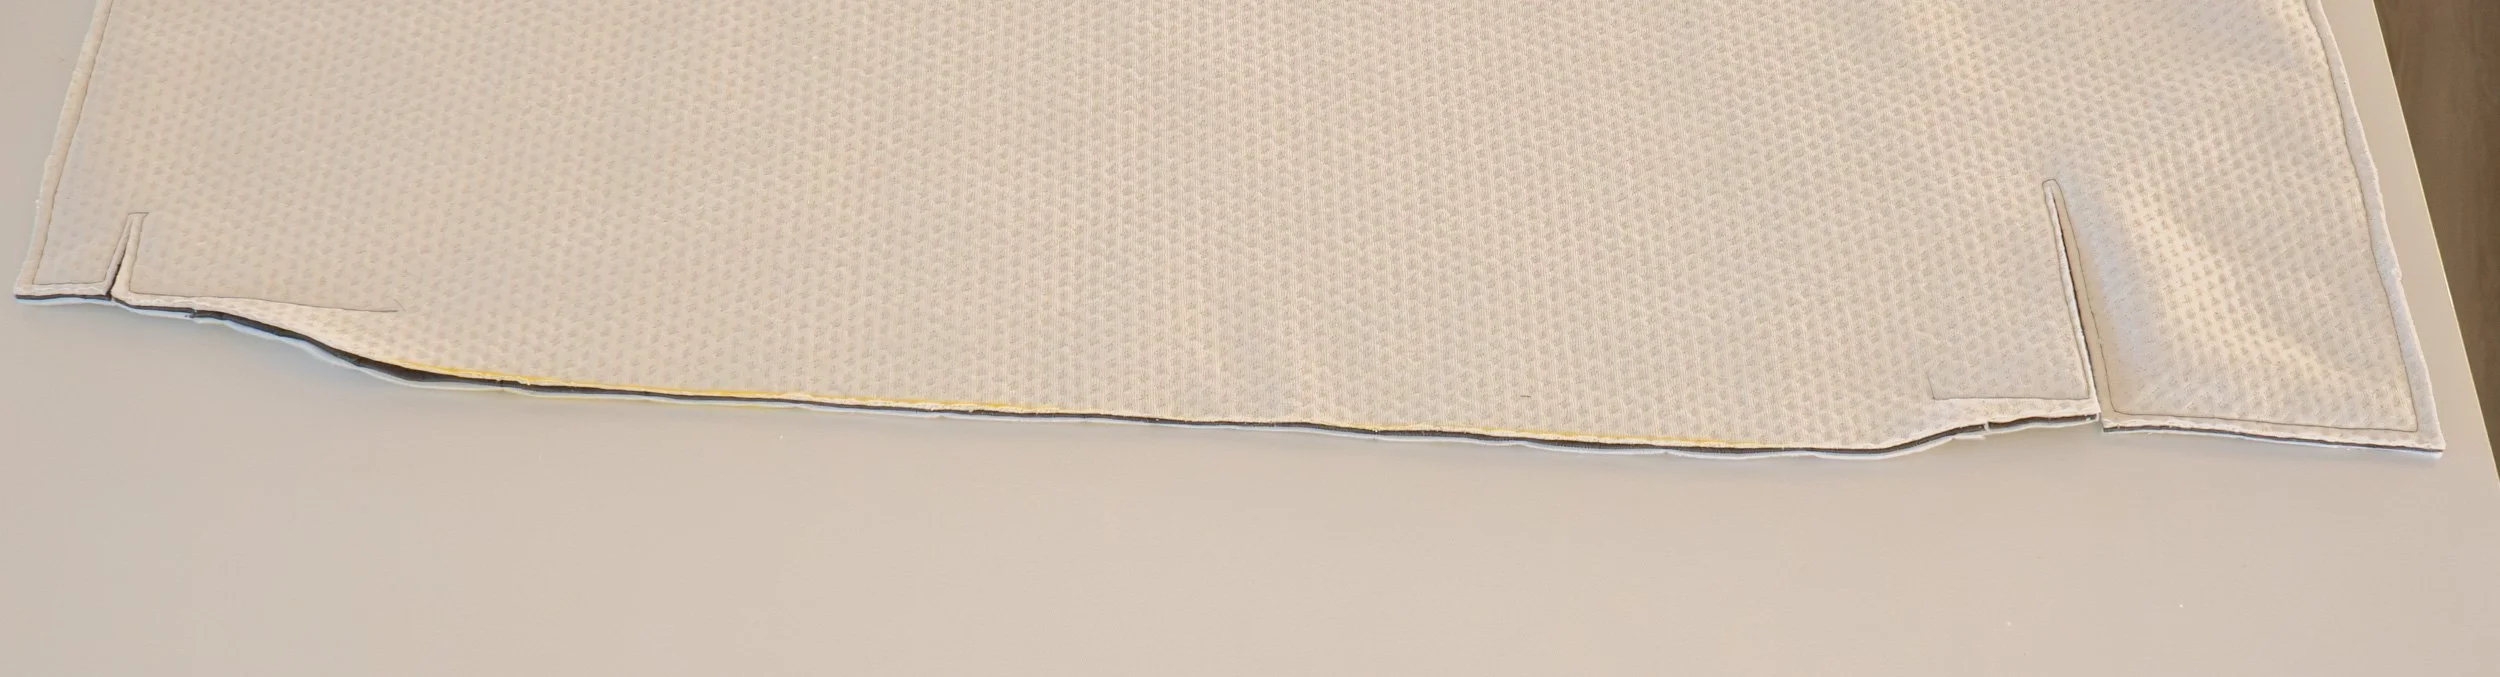
For the area where I’d be turning it inside out, I intentionally cut wider and left more material. This leaves plenty of fabric so that after I turned it right side out, I’d be able to sew the seam closed with my stitch line going cleanly through all three layers. It does add a touch extra bulk on that end, but that’s a price I was happy to pay.
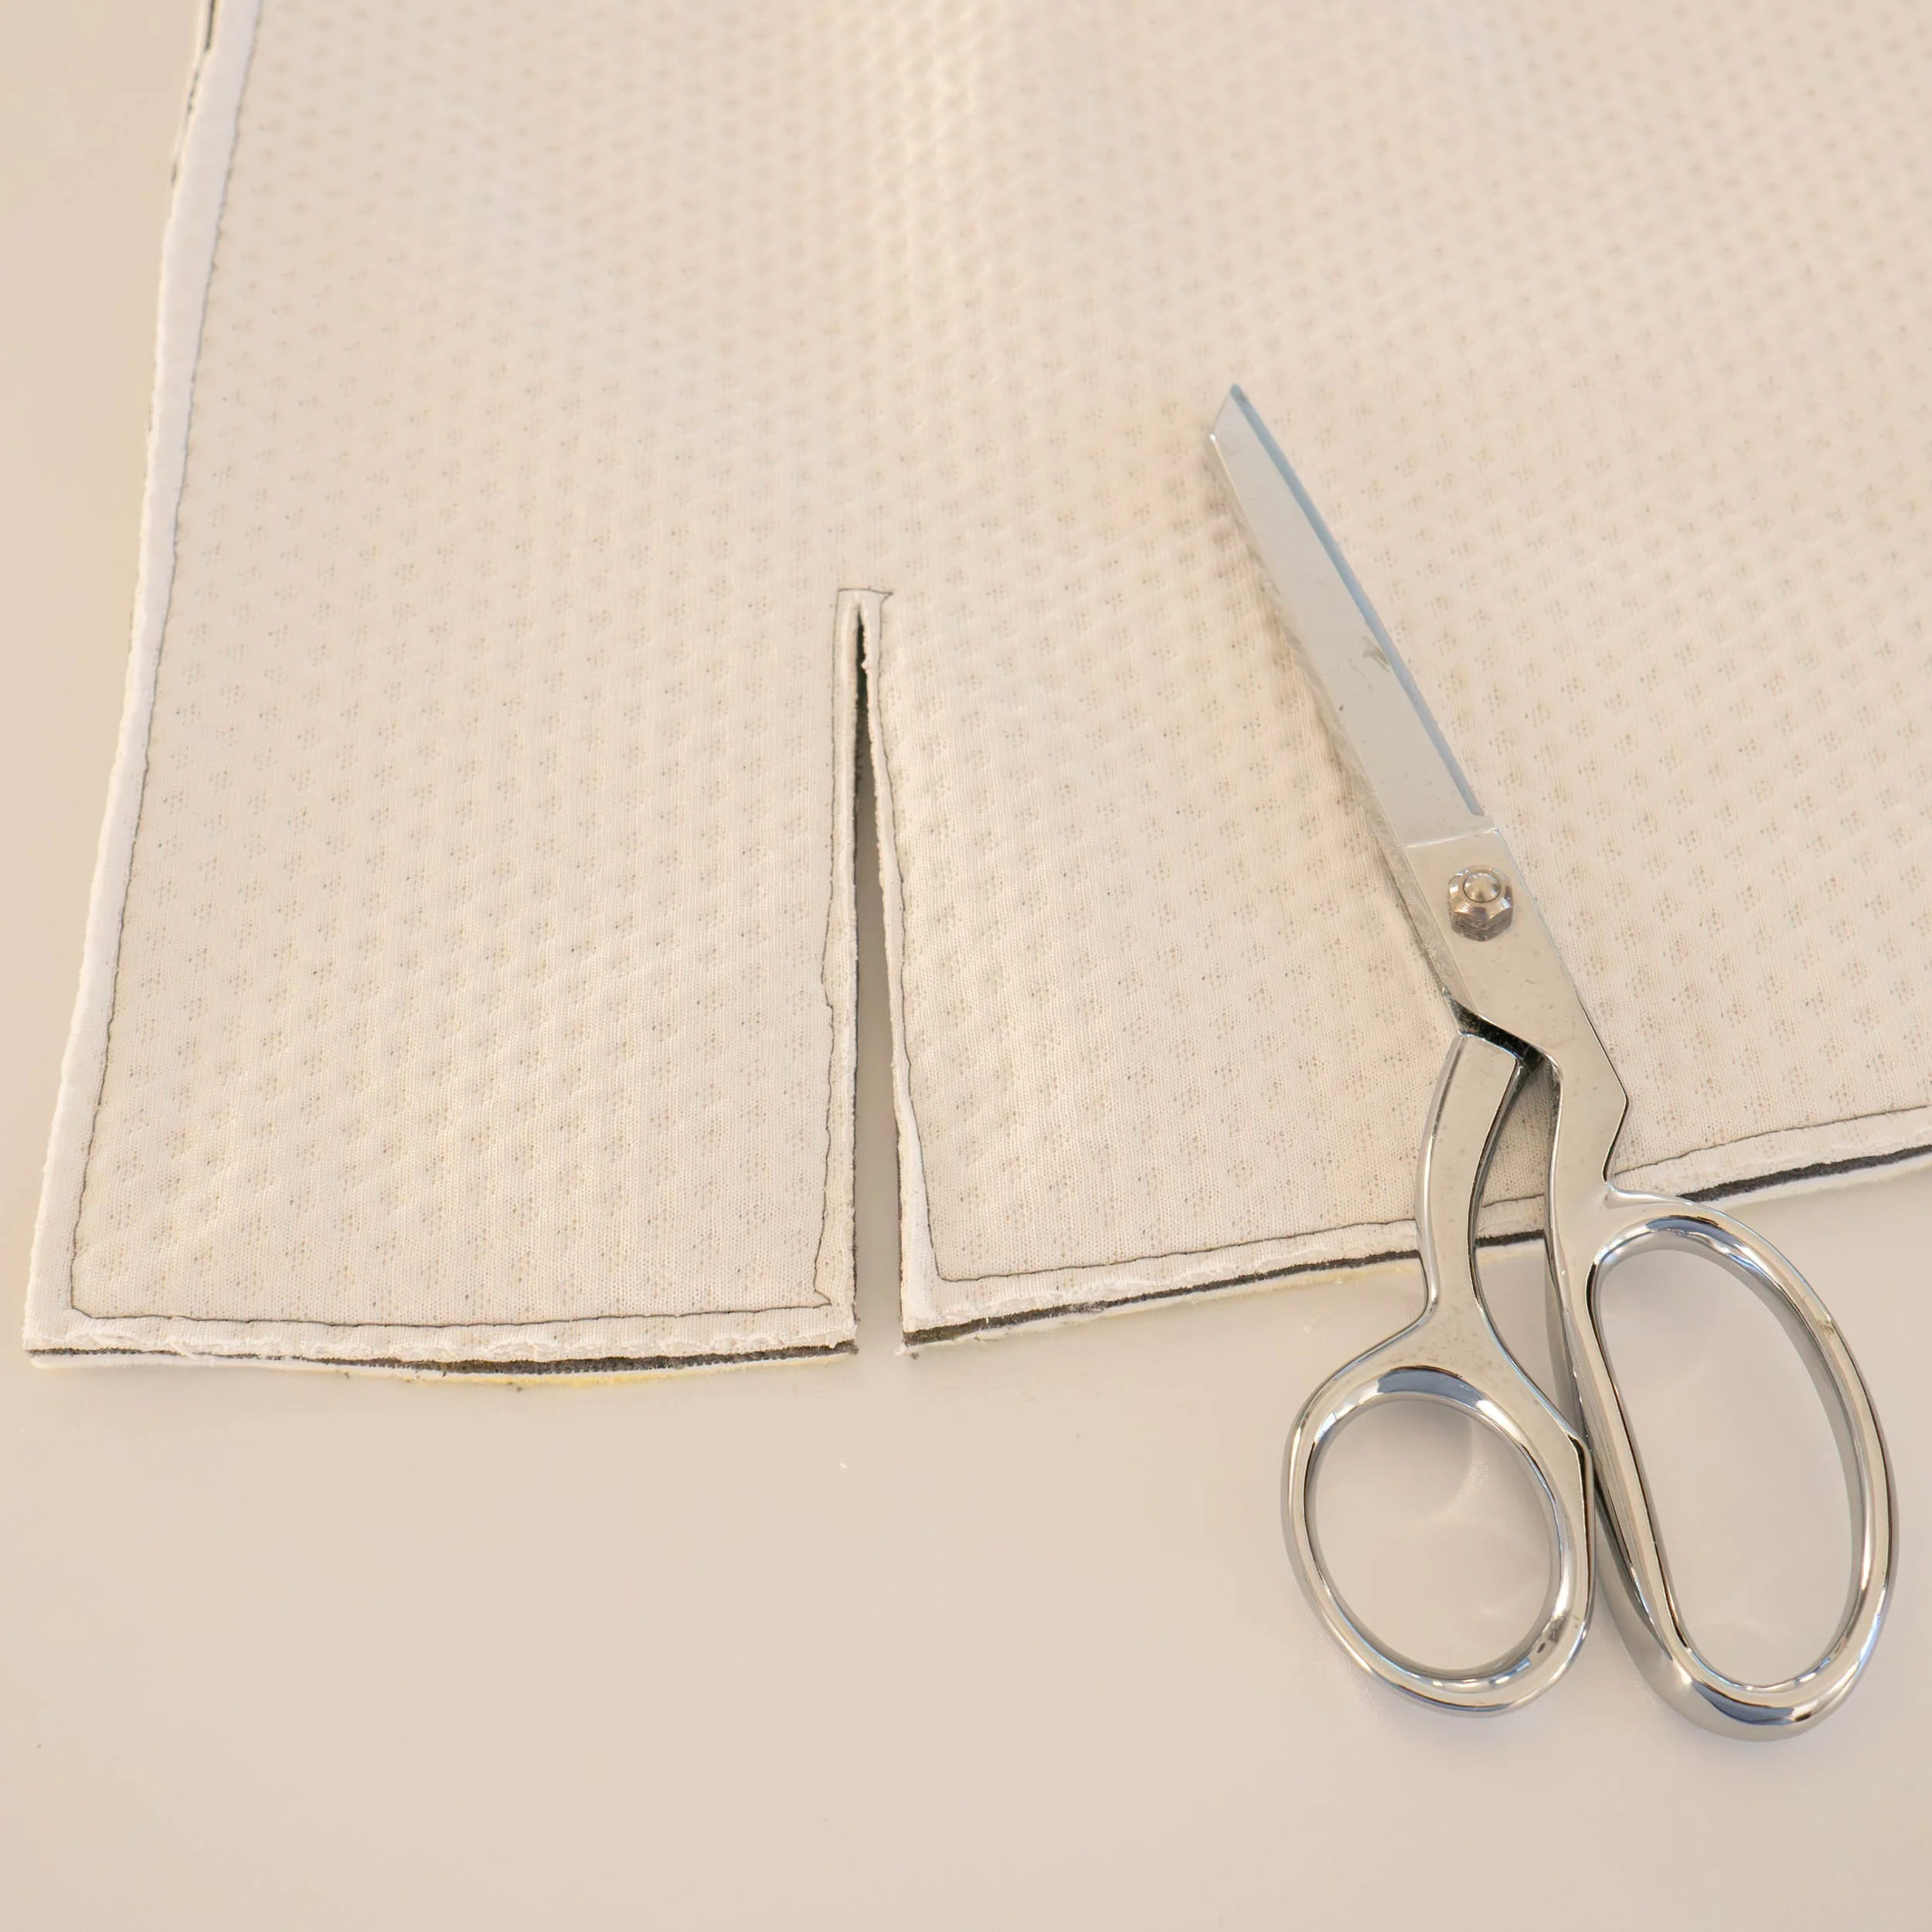
I cut a line into each of the channels to create flaps that would be used to create corners for the liner.
Step 9
It was time to flip it inside out, being careful to make sure the corners were square. I then worked my way around the perimeter, flattening it and using clips as I went to work the line of the inner seam to the edge. I was particularly careful around the unstitched open area, and folded the flaps of fabric inside with a lot of clips to hold it all in place.
Step 10
I like a good topstitch - it gives a piece a finished look that I really enjoy, and it also allows me to hide the line I would have to sew to close the piece up. A win-win. So I adjusted a few settings on the machine and stitched all the way around, taking special care with the part that was open. I started just before the open edge, topstitched through it, and then went all the way around, and did a second pass through just to hold it tight. All of the other edges already had the double seam, so I wanted to make sure the open edge also had double stitching.
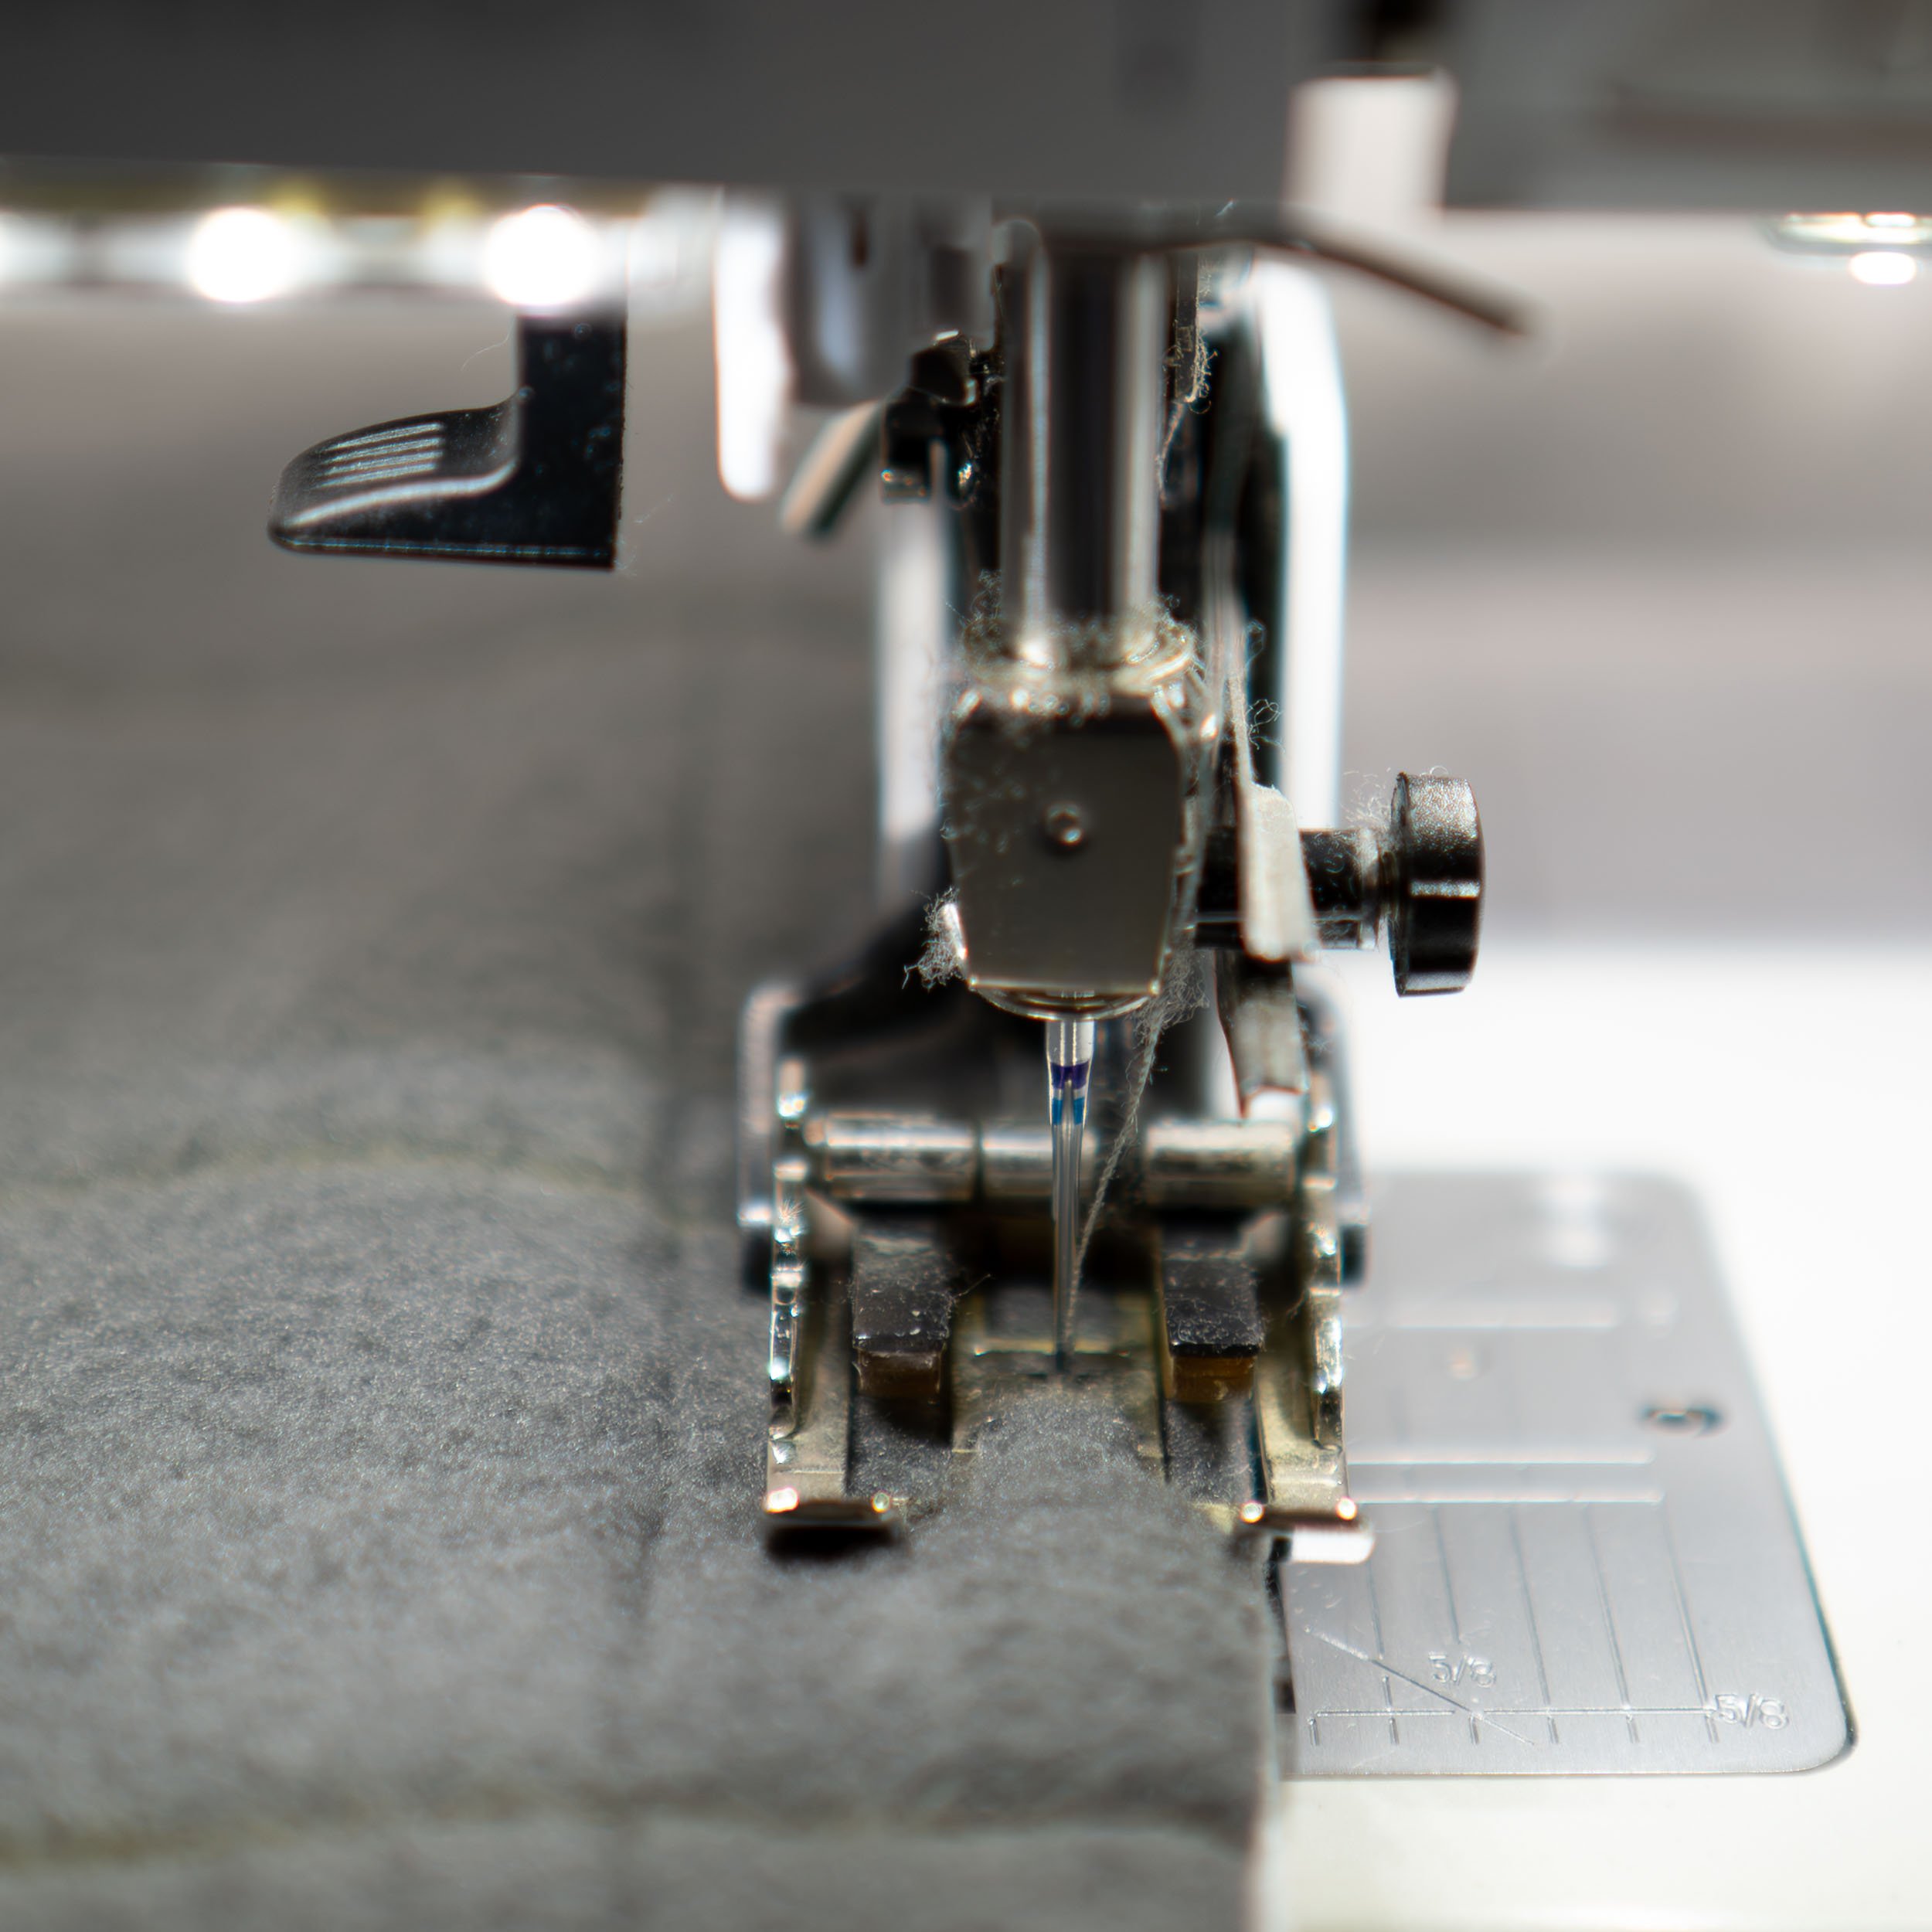
Machine settings for topstitch:
Microtex 90/14 needle
Reduce the pressure of the foot a little bit more
Stitch length 5
Tension 4.25
Step 11
I installed sew-on snaps to the flaps to help the liner get its boxy appearance.
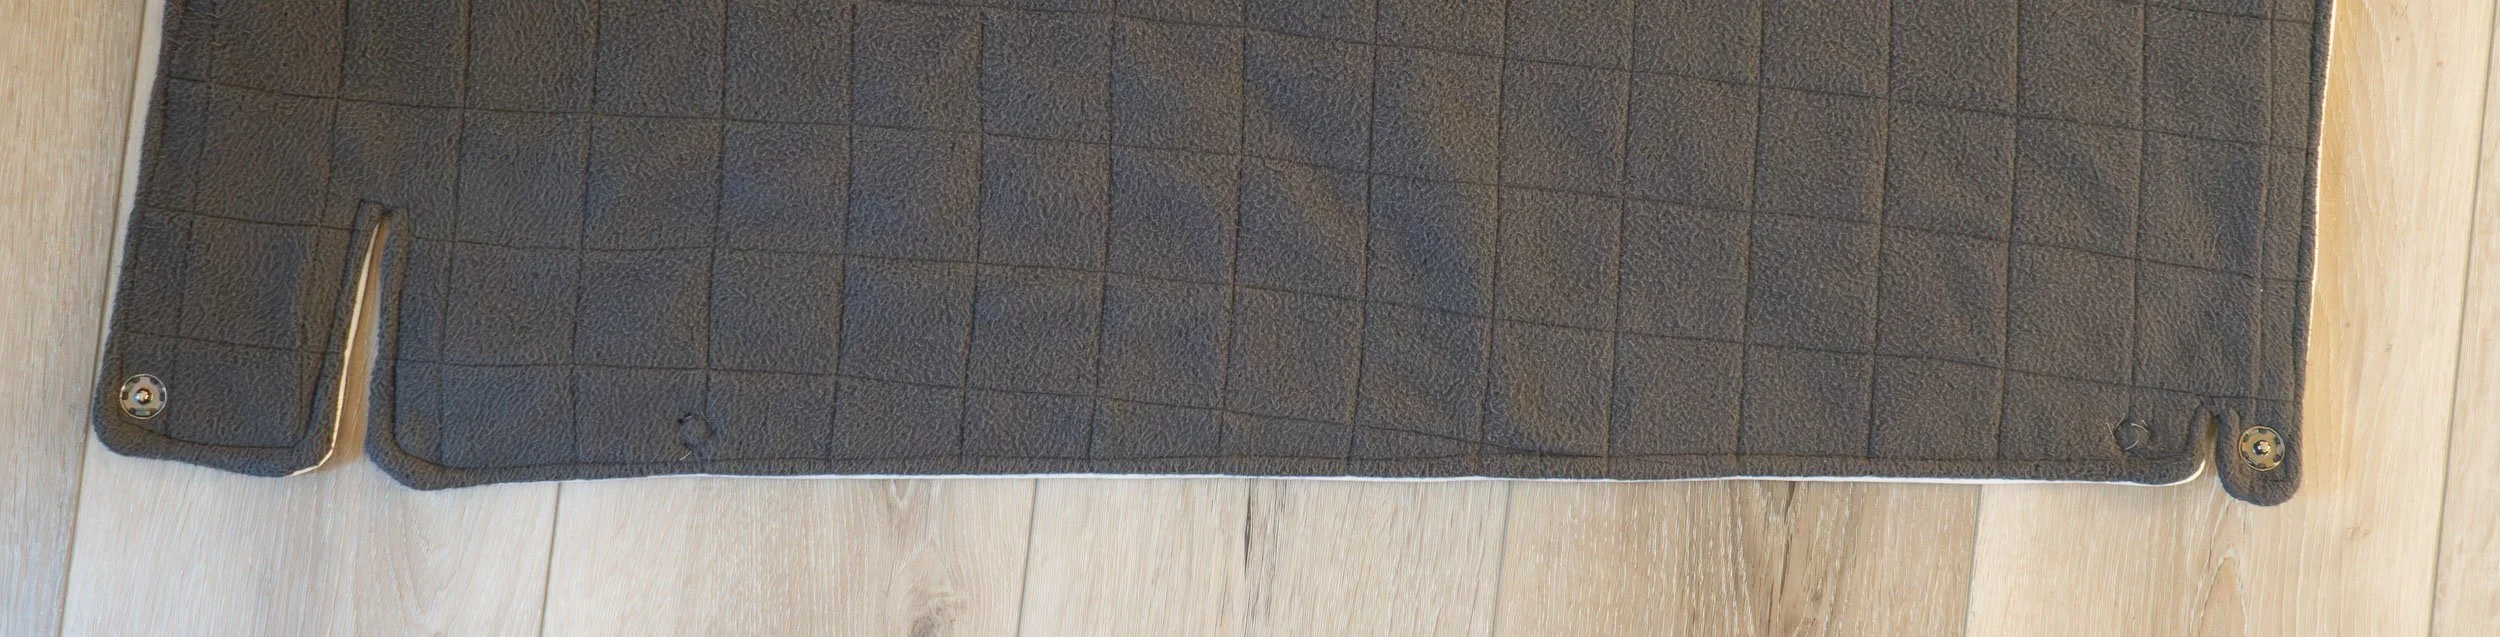
And it was done, a massive totally waterproof liner with tapered edges and a finished size of 120 inches by 33 inches. I will be sad to cut this up, but repurposing it is certainly in line with our ModPig mandate of things being modifiable.